

Assembly
Here it is
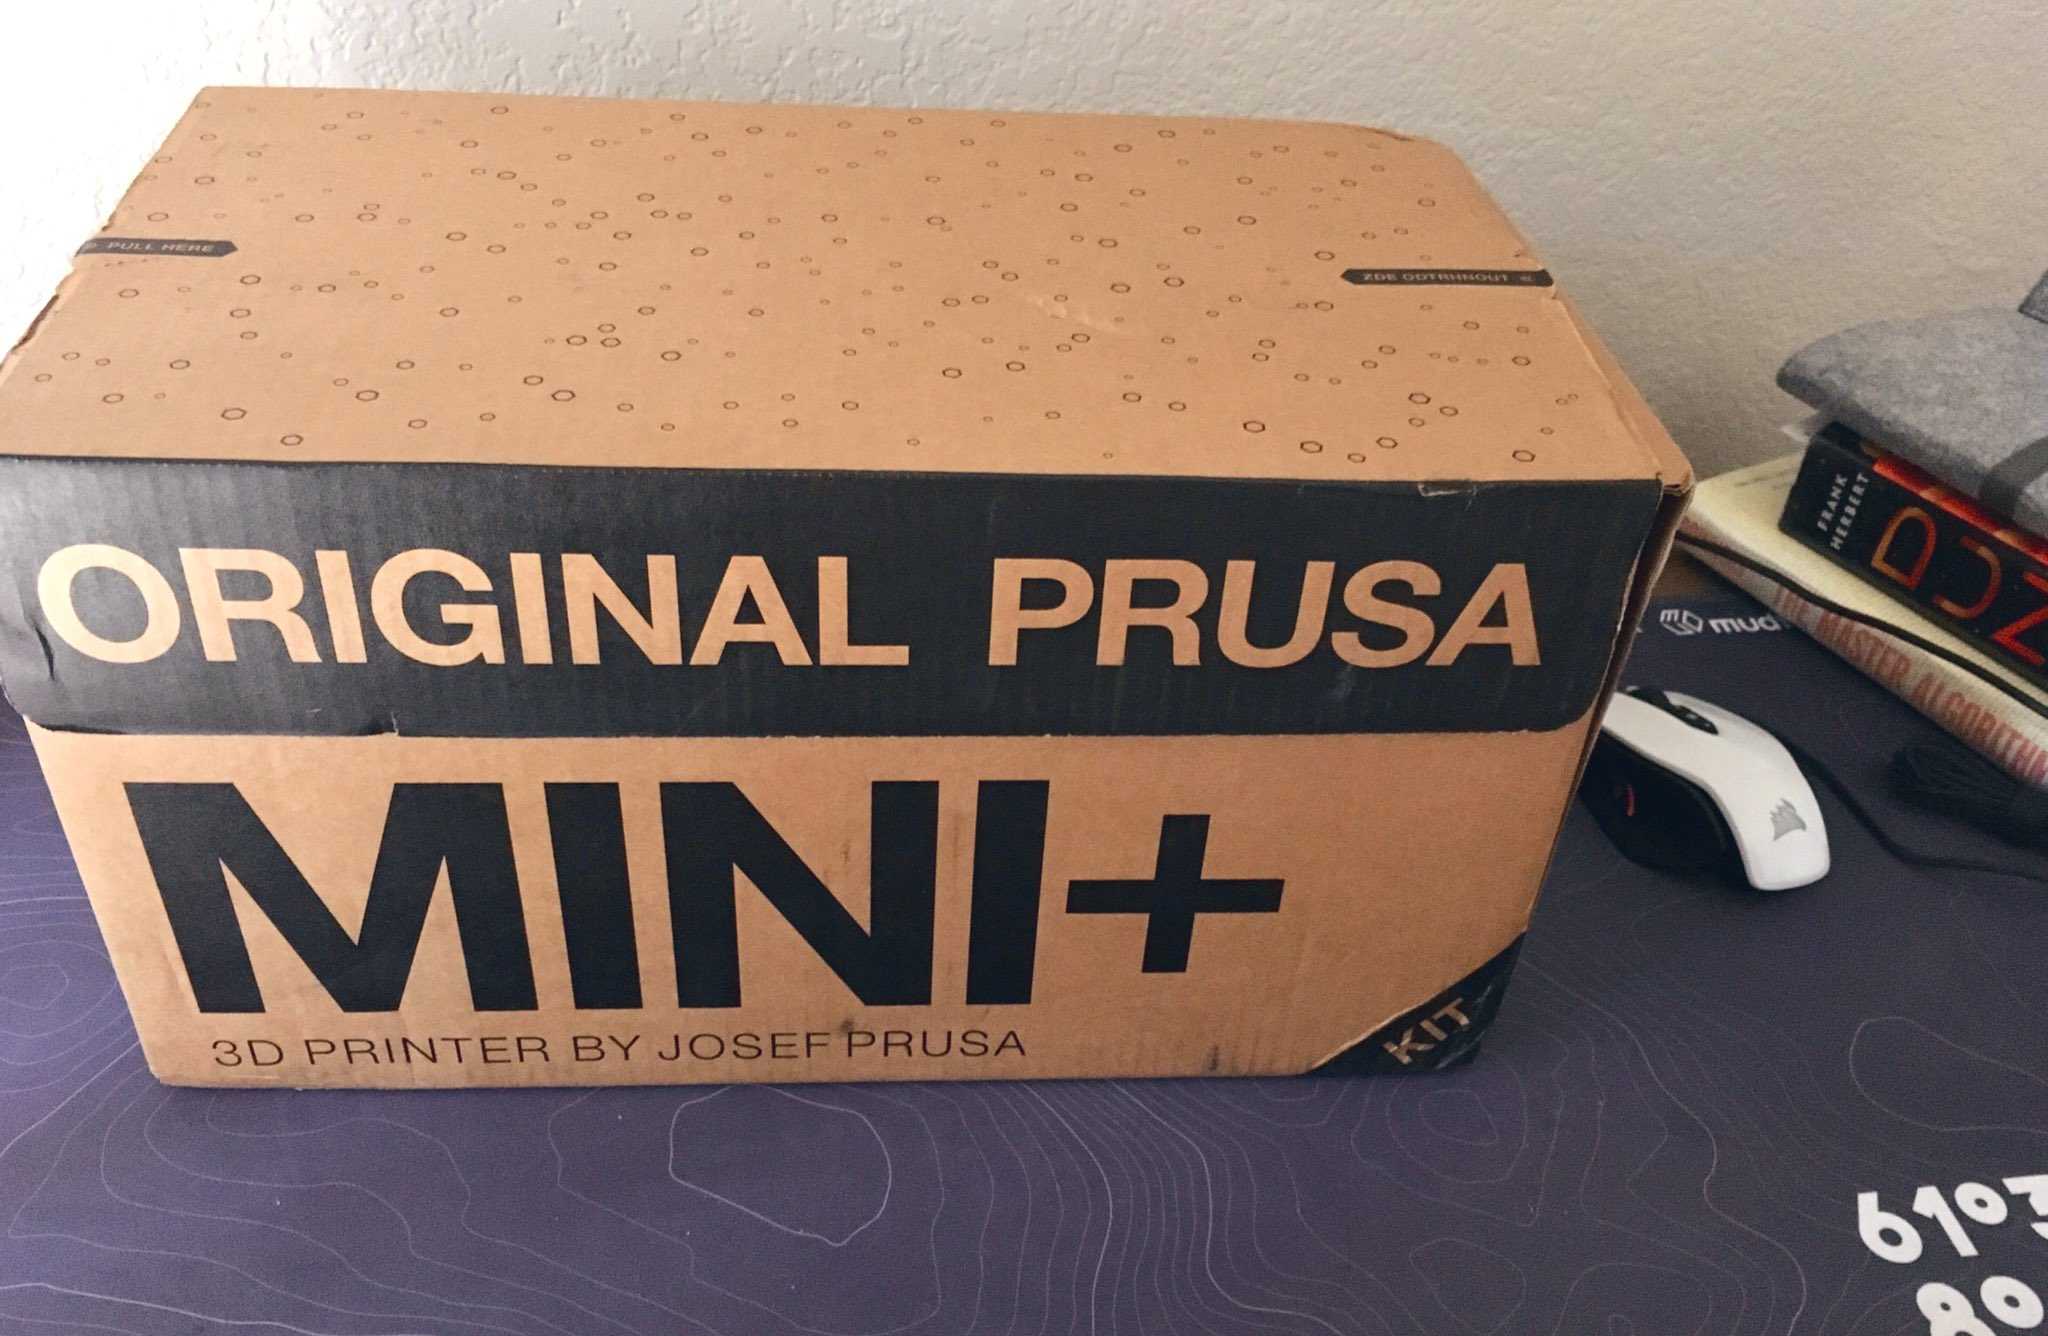
This is gonna be fun, right?

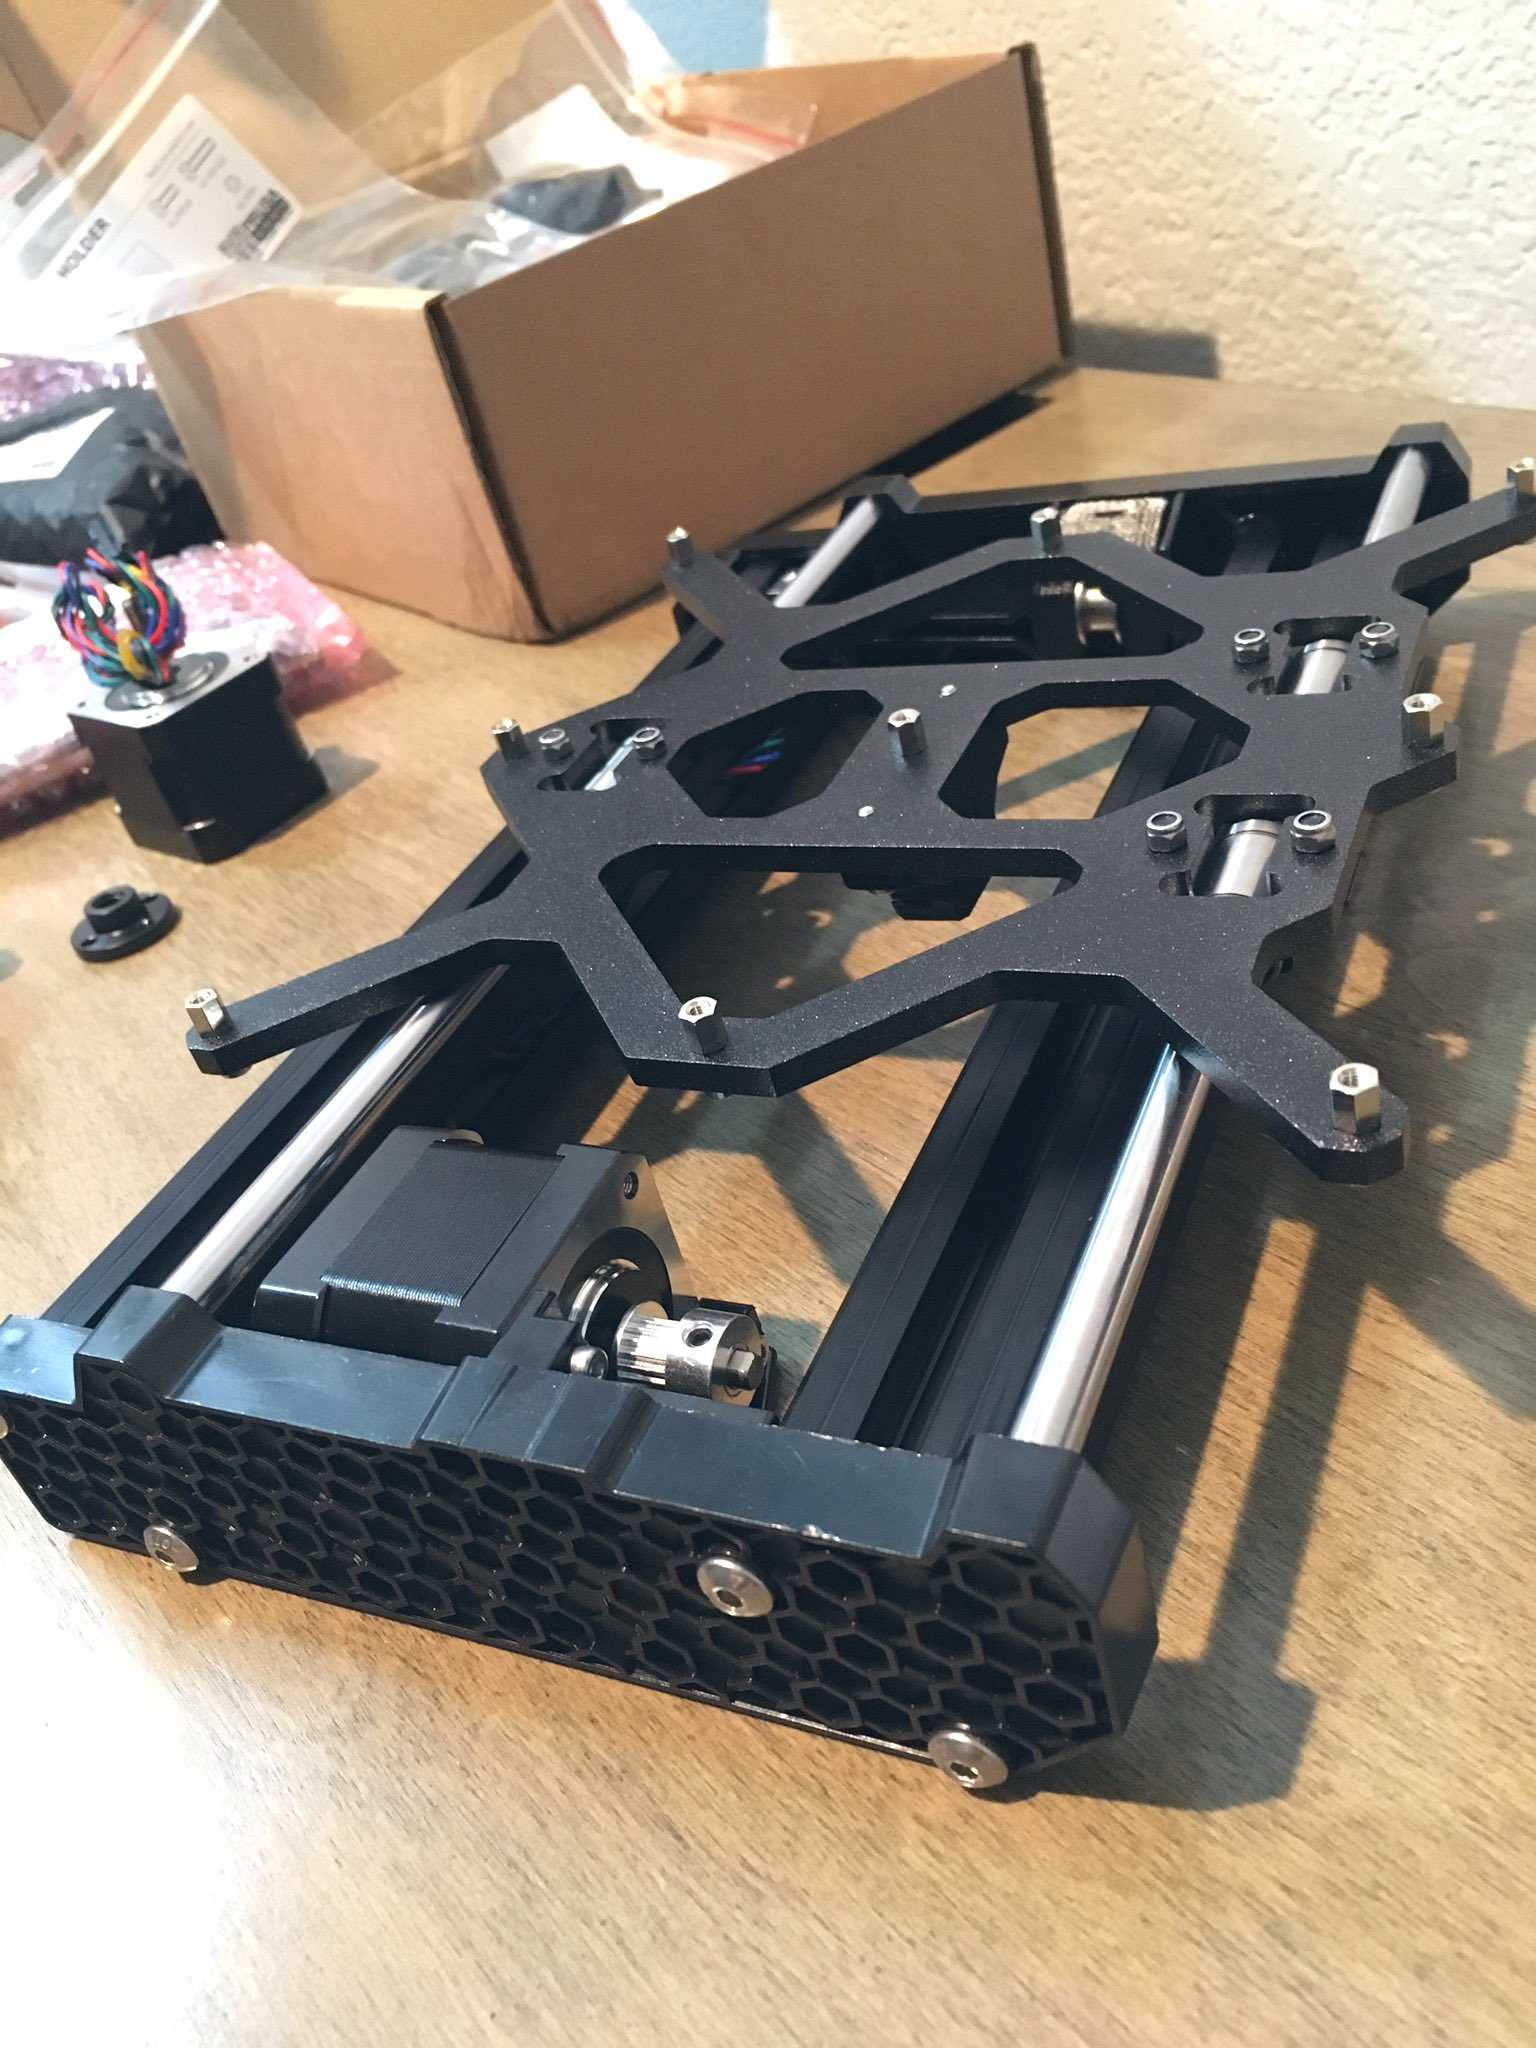
Starting with the first bag.
When I assemble a wardrobe or a desk I can figure out all nuts and bolts without a manual, but this kit is intimidating.
Reading every step very carefully. Just enjoying the process 😊

Somewhere halfway through with the bottom platform. Slow progress, call it a night 😴
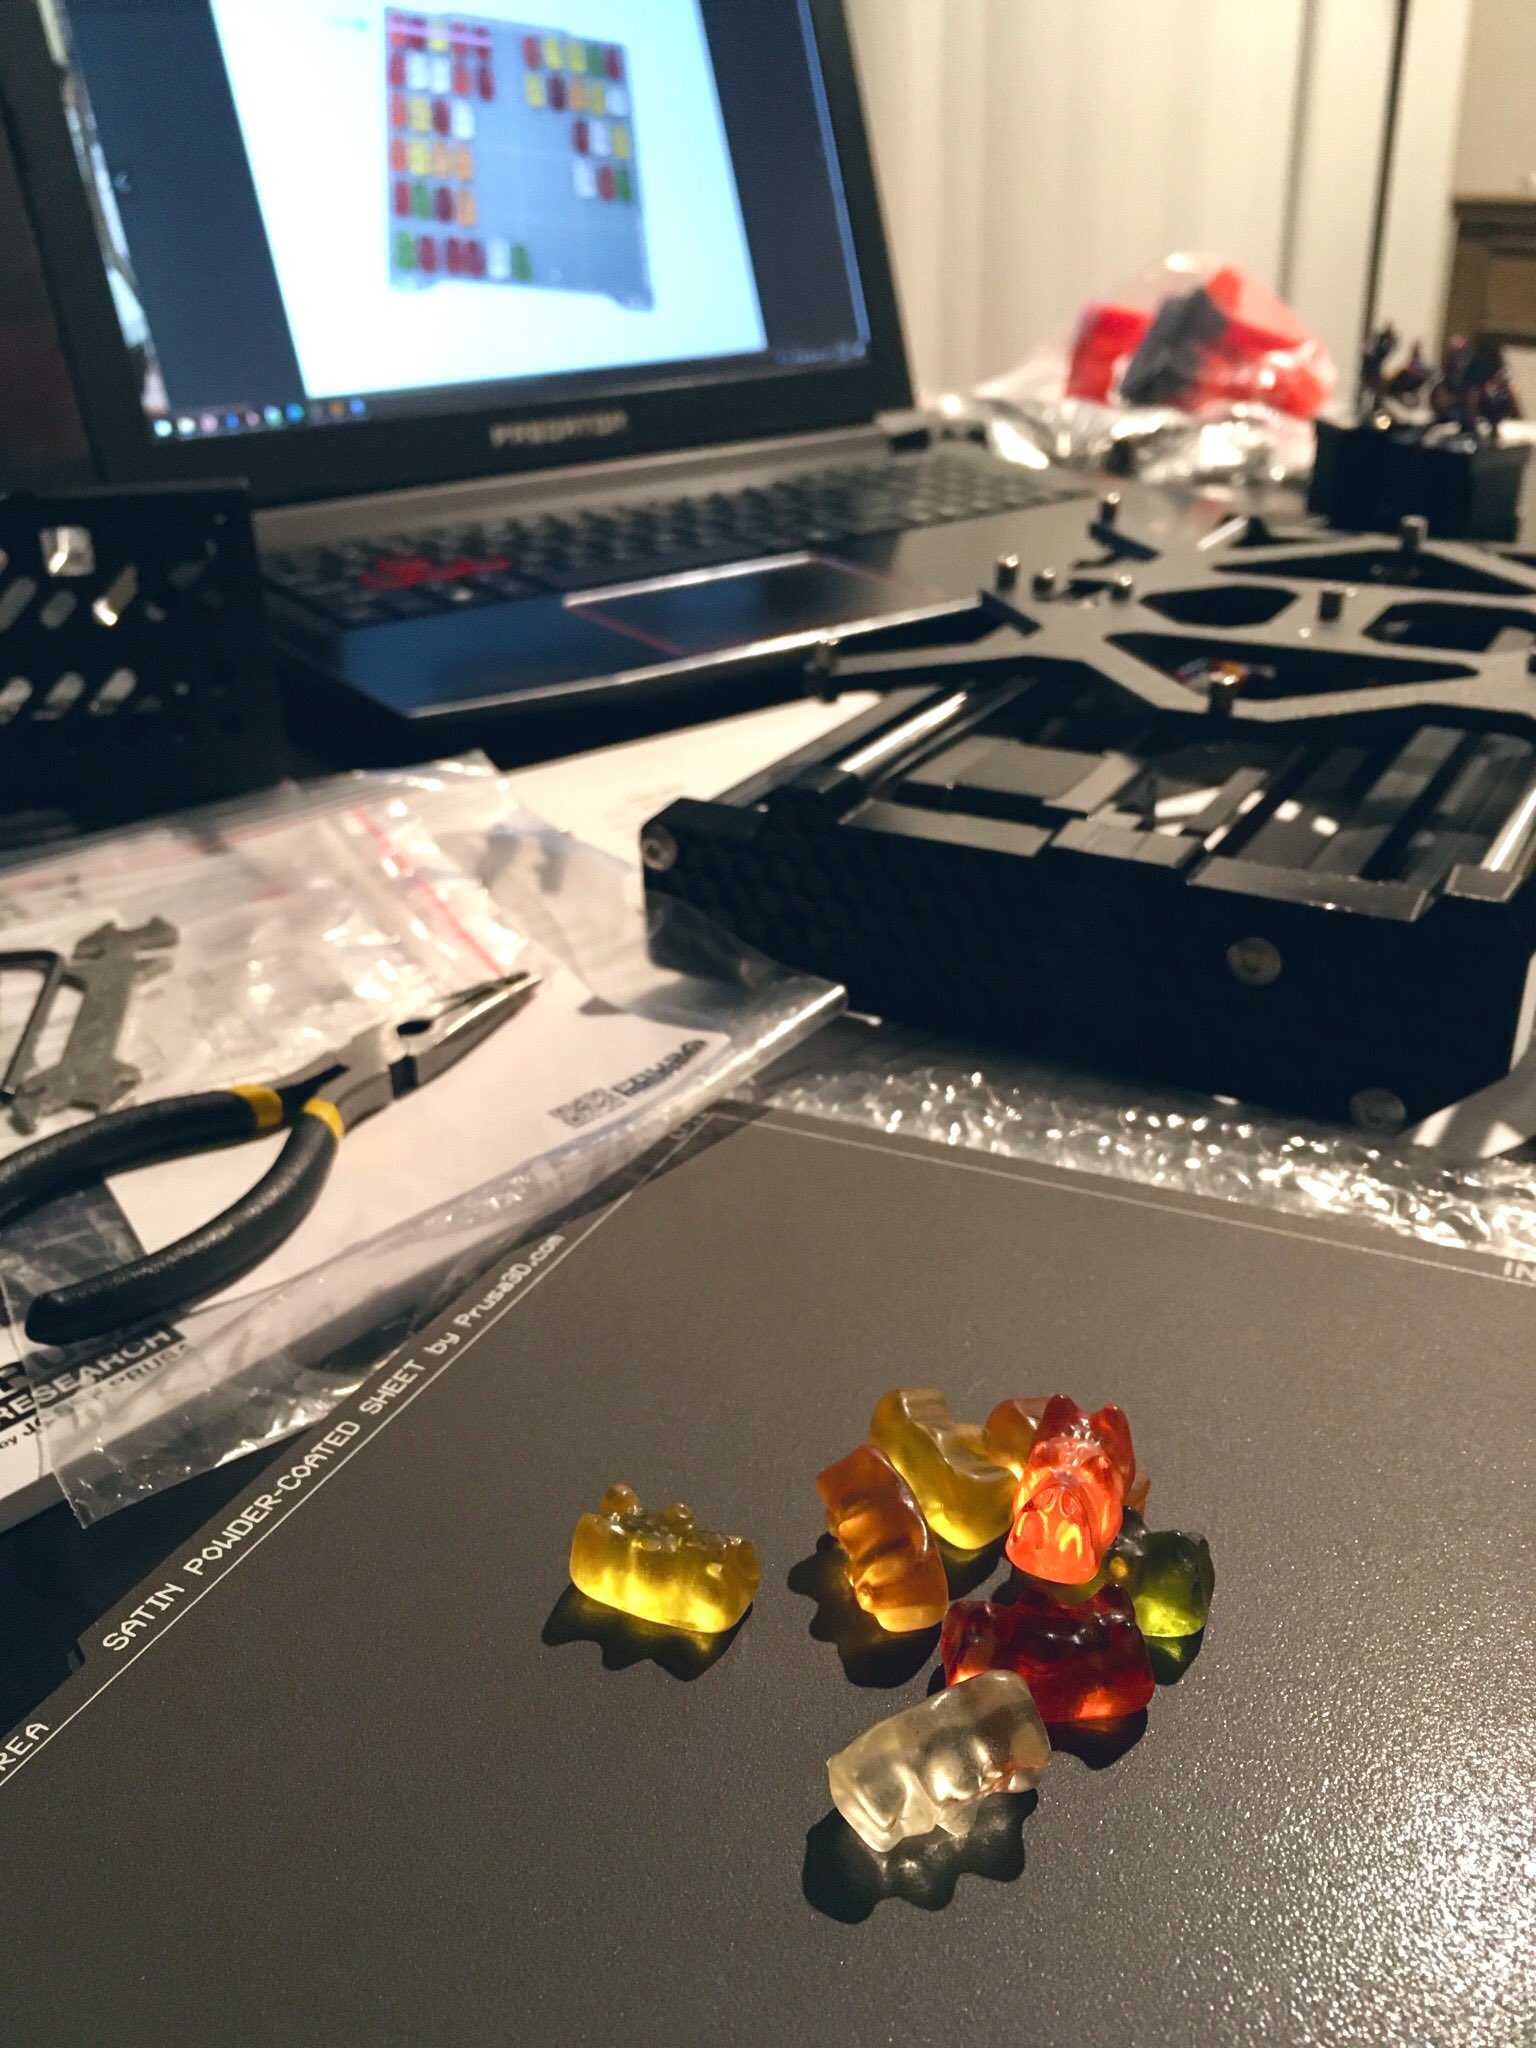
I’m at the step where I need to eat a couple of gummy bears
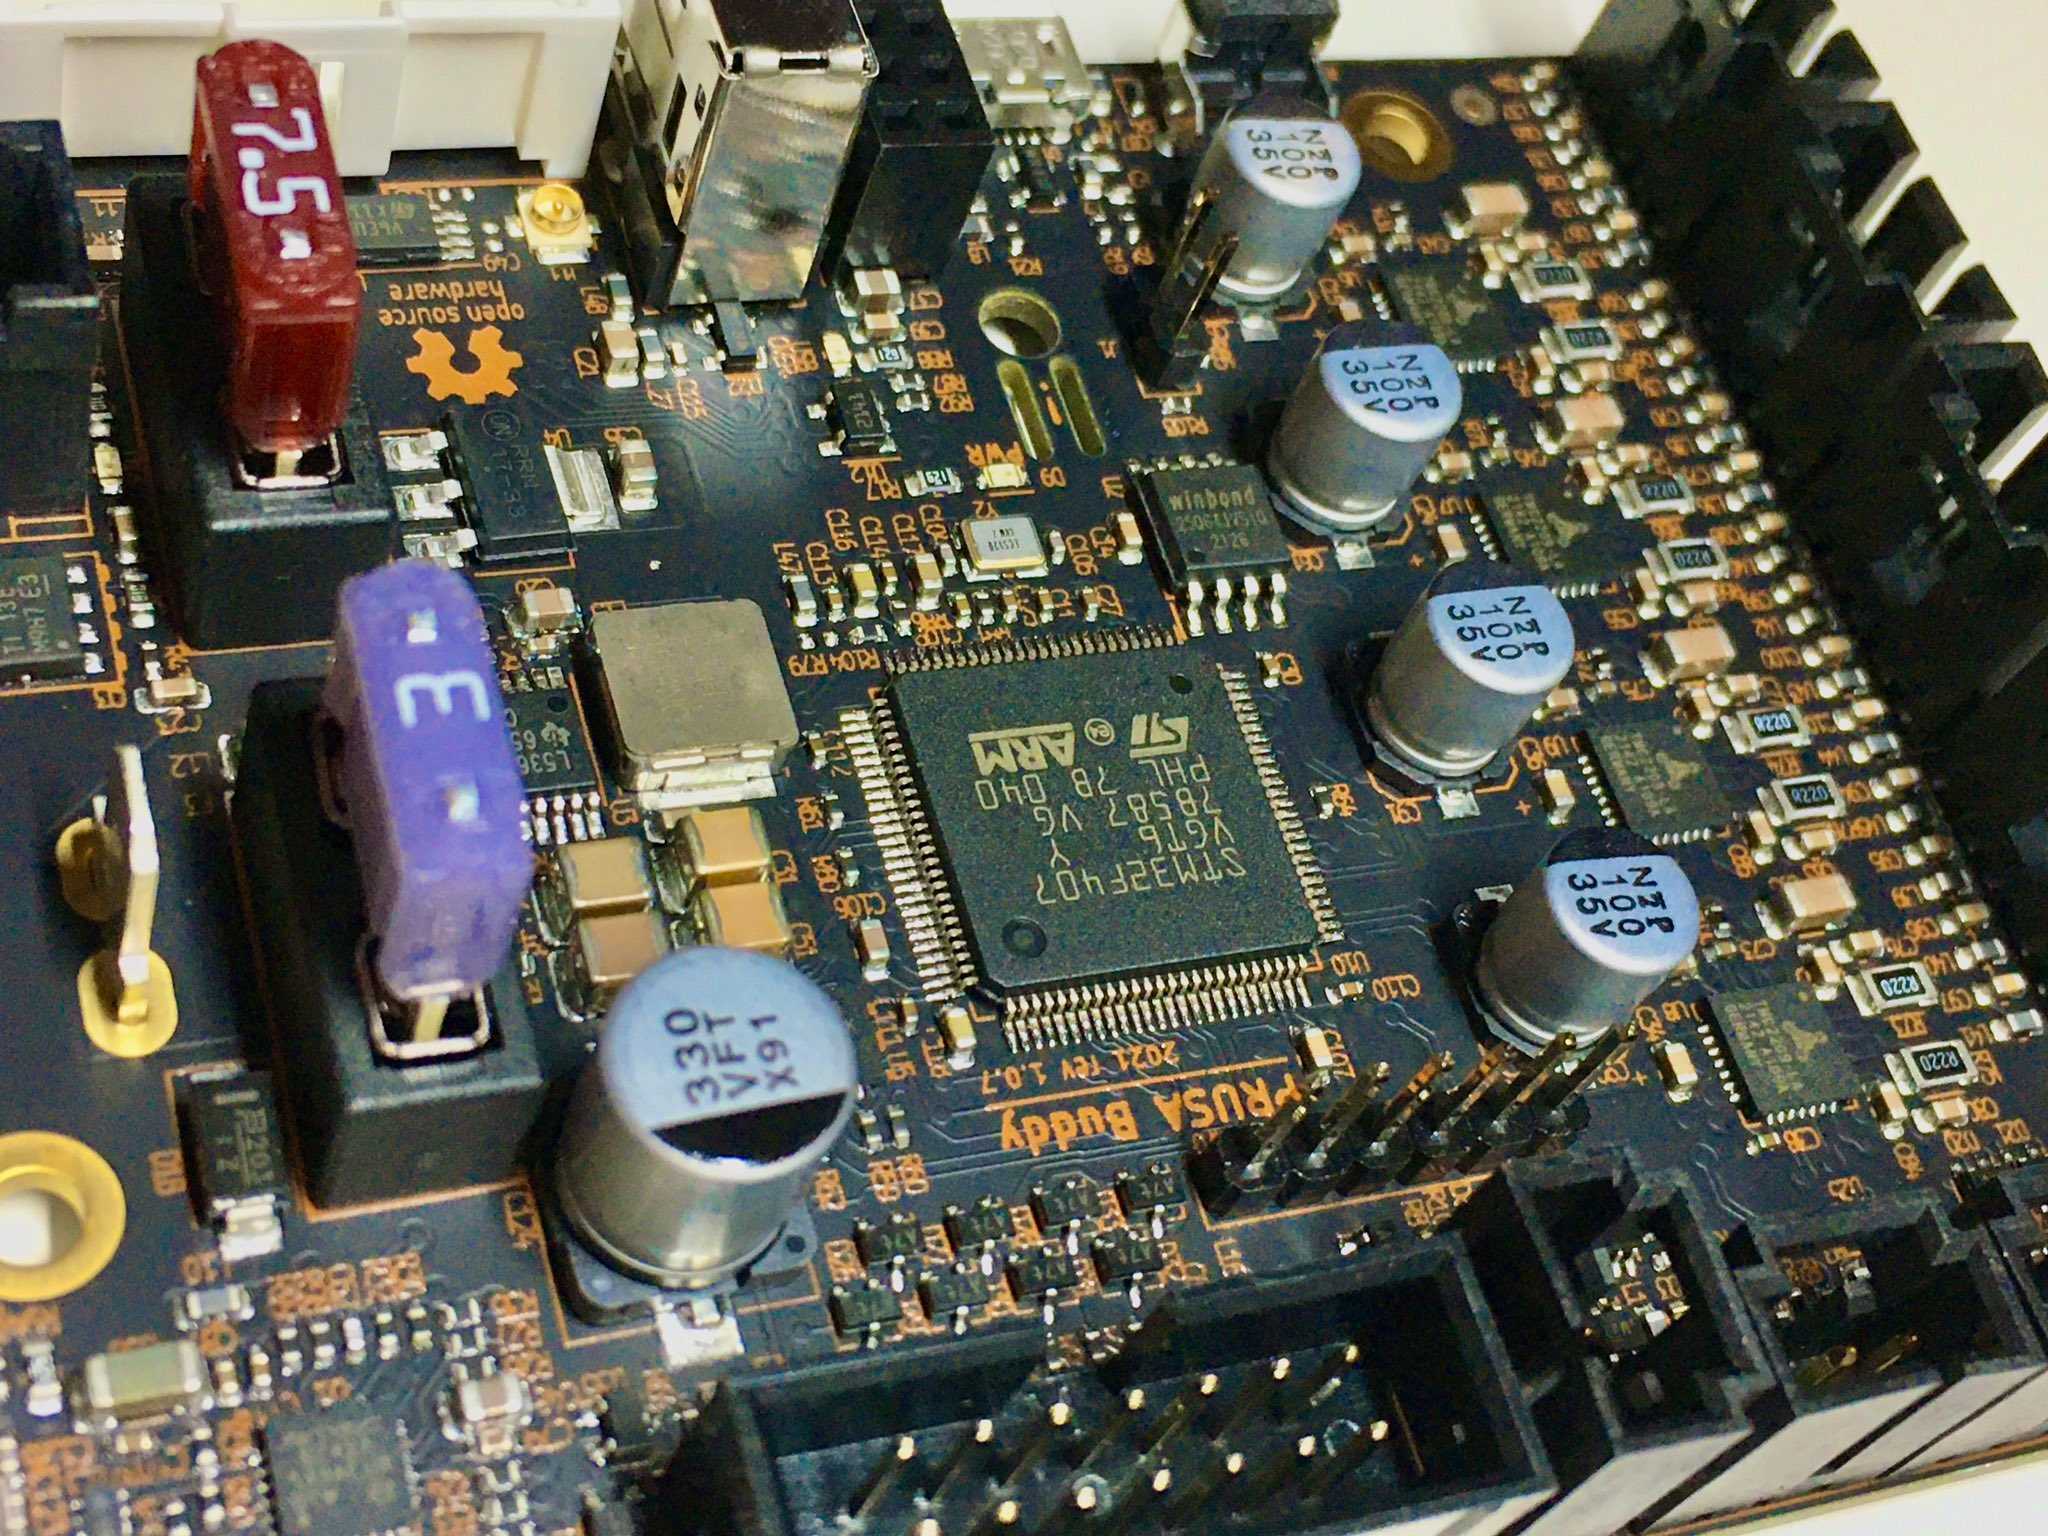
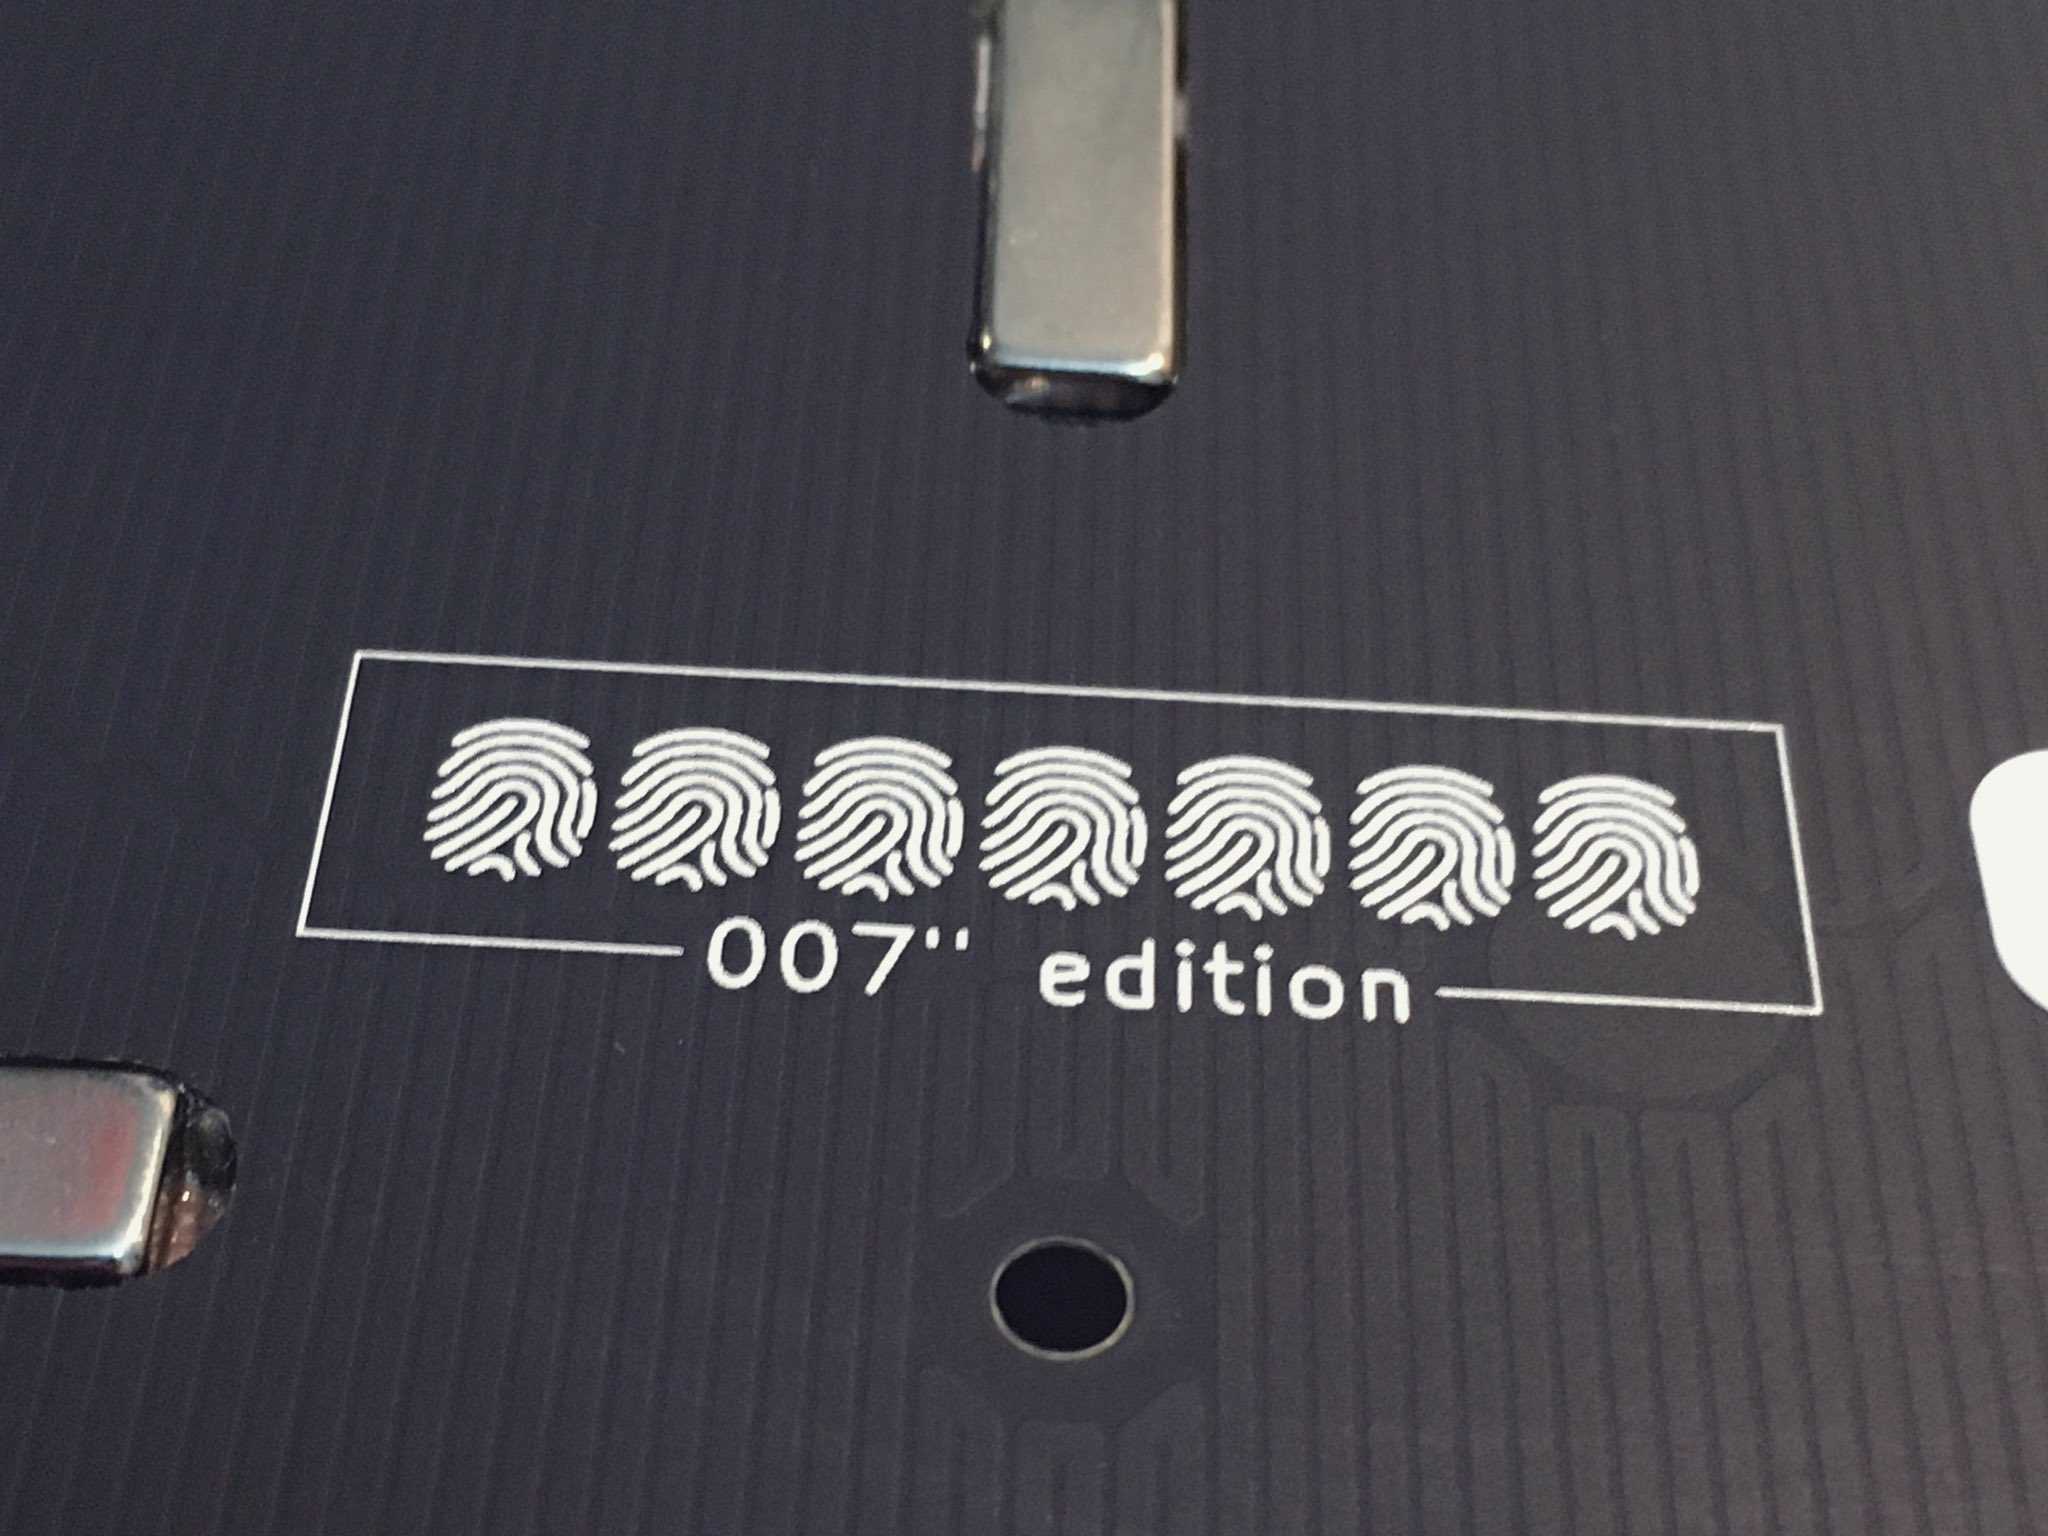
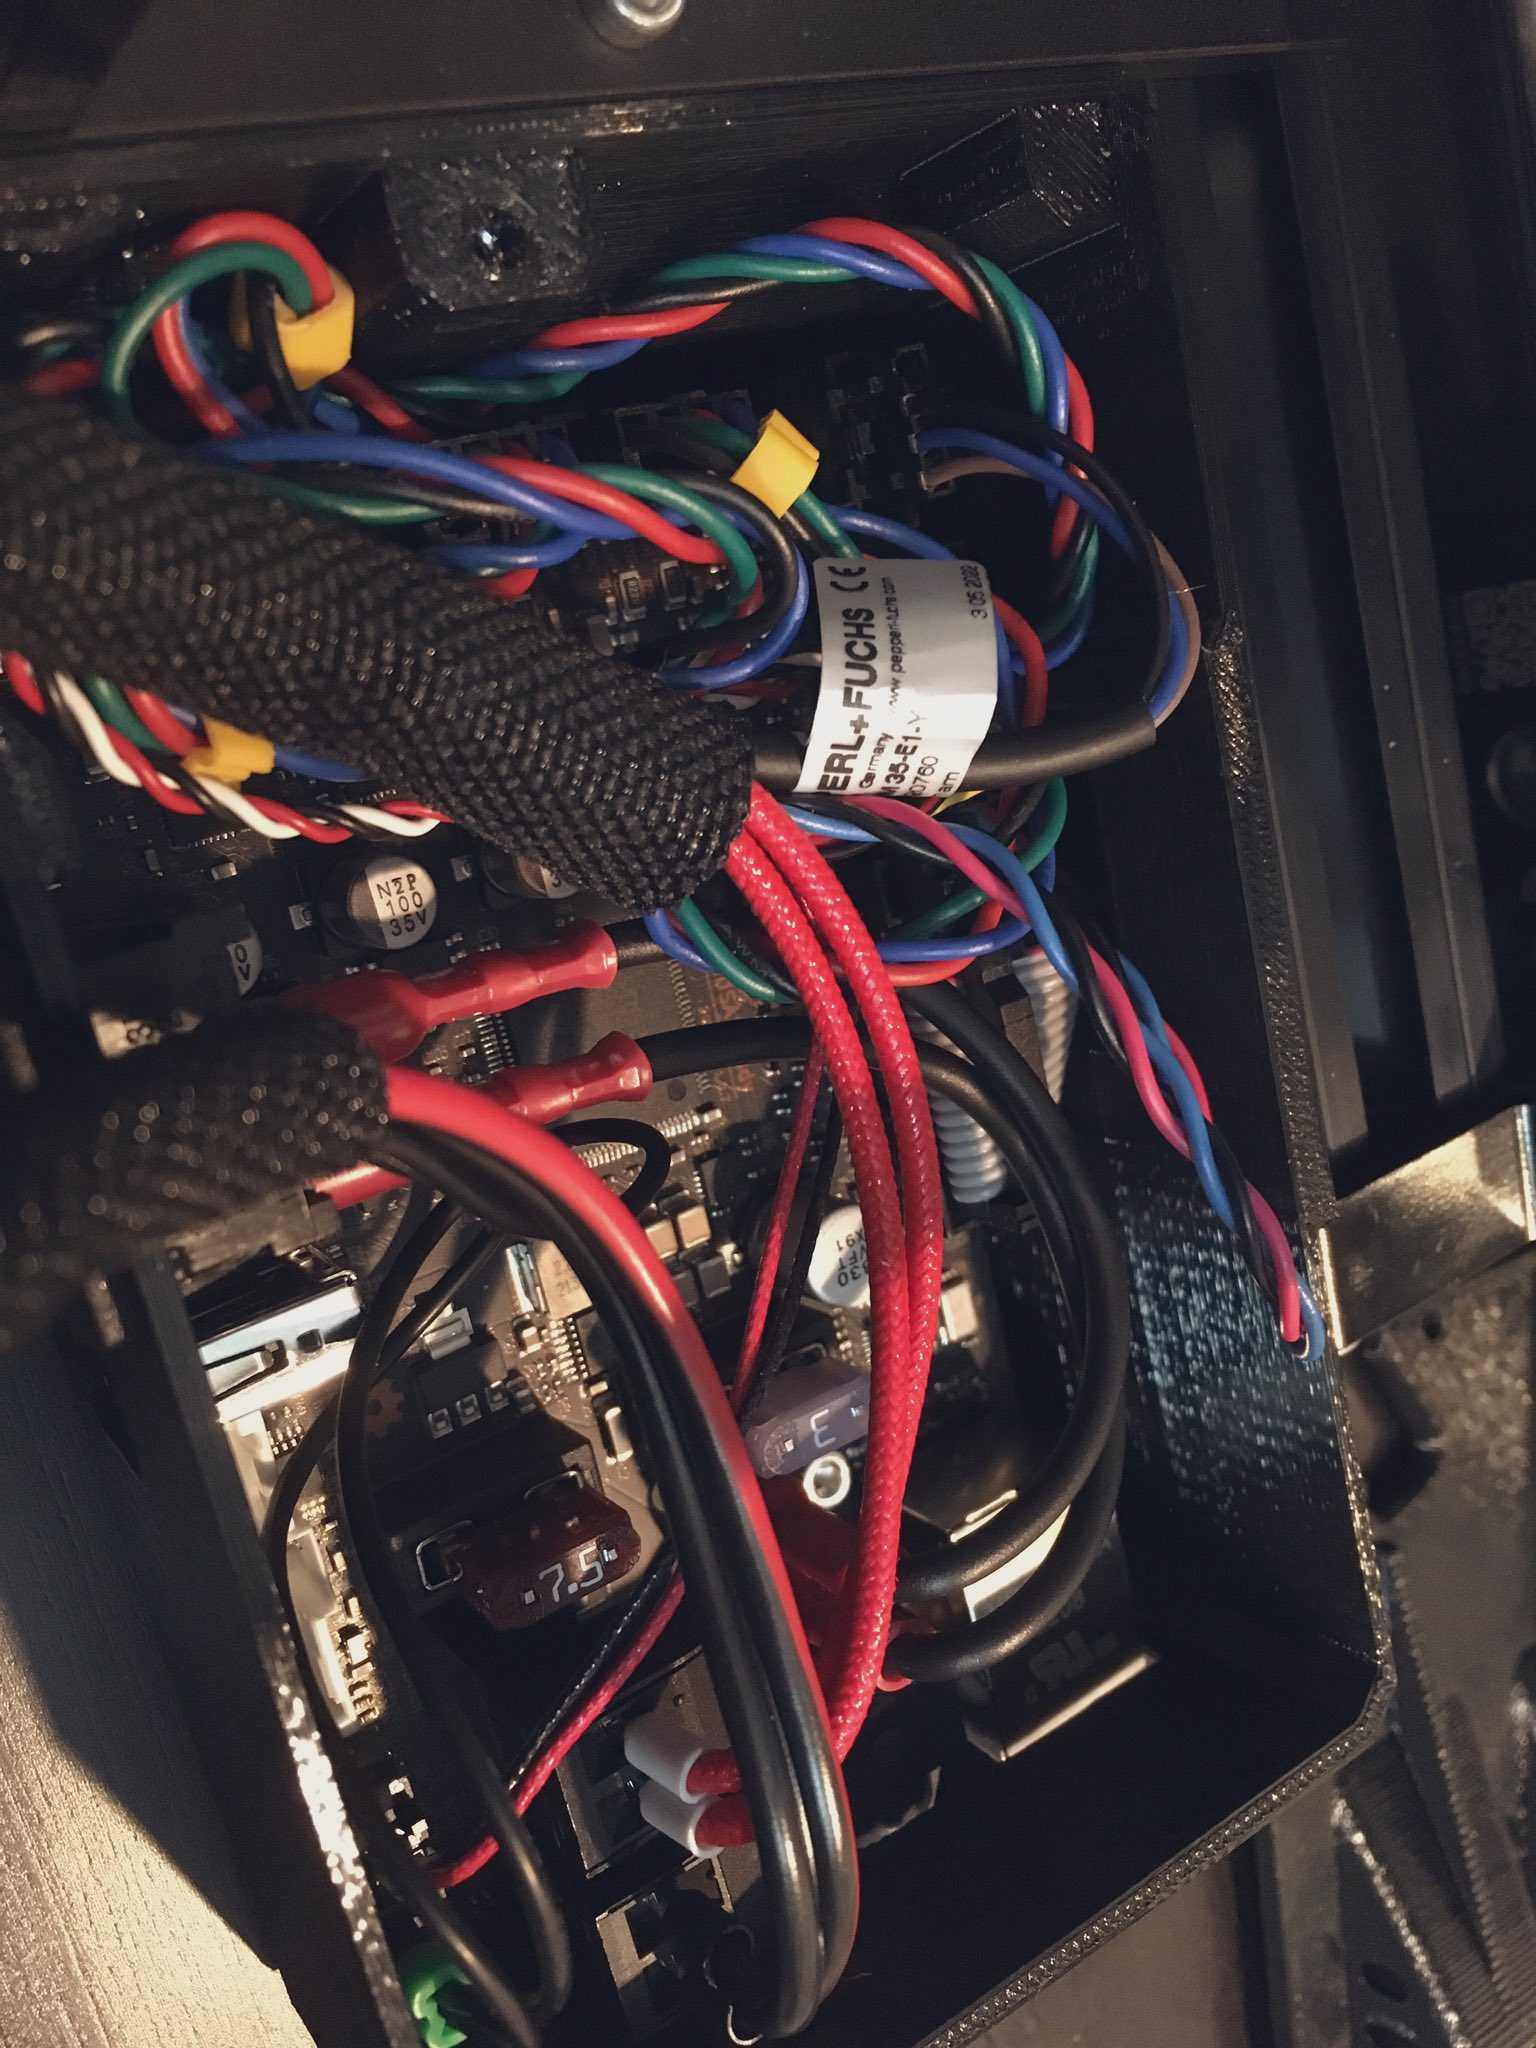
By looking at this PCB and stylish brown silkscreen, by touching the smooth matte surface I was reminded that there are still companies that care about quality of each component. Even invisible ones.
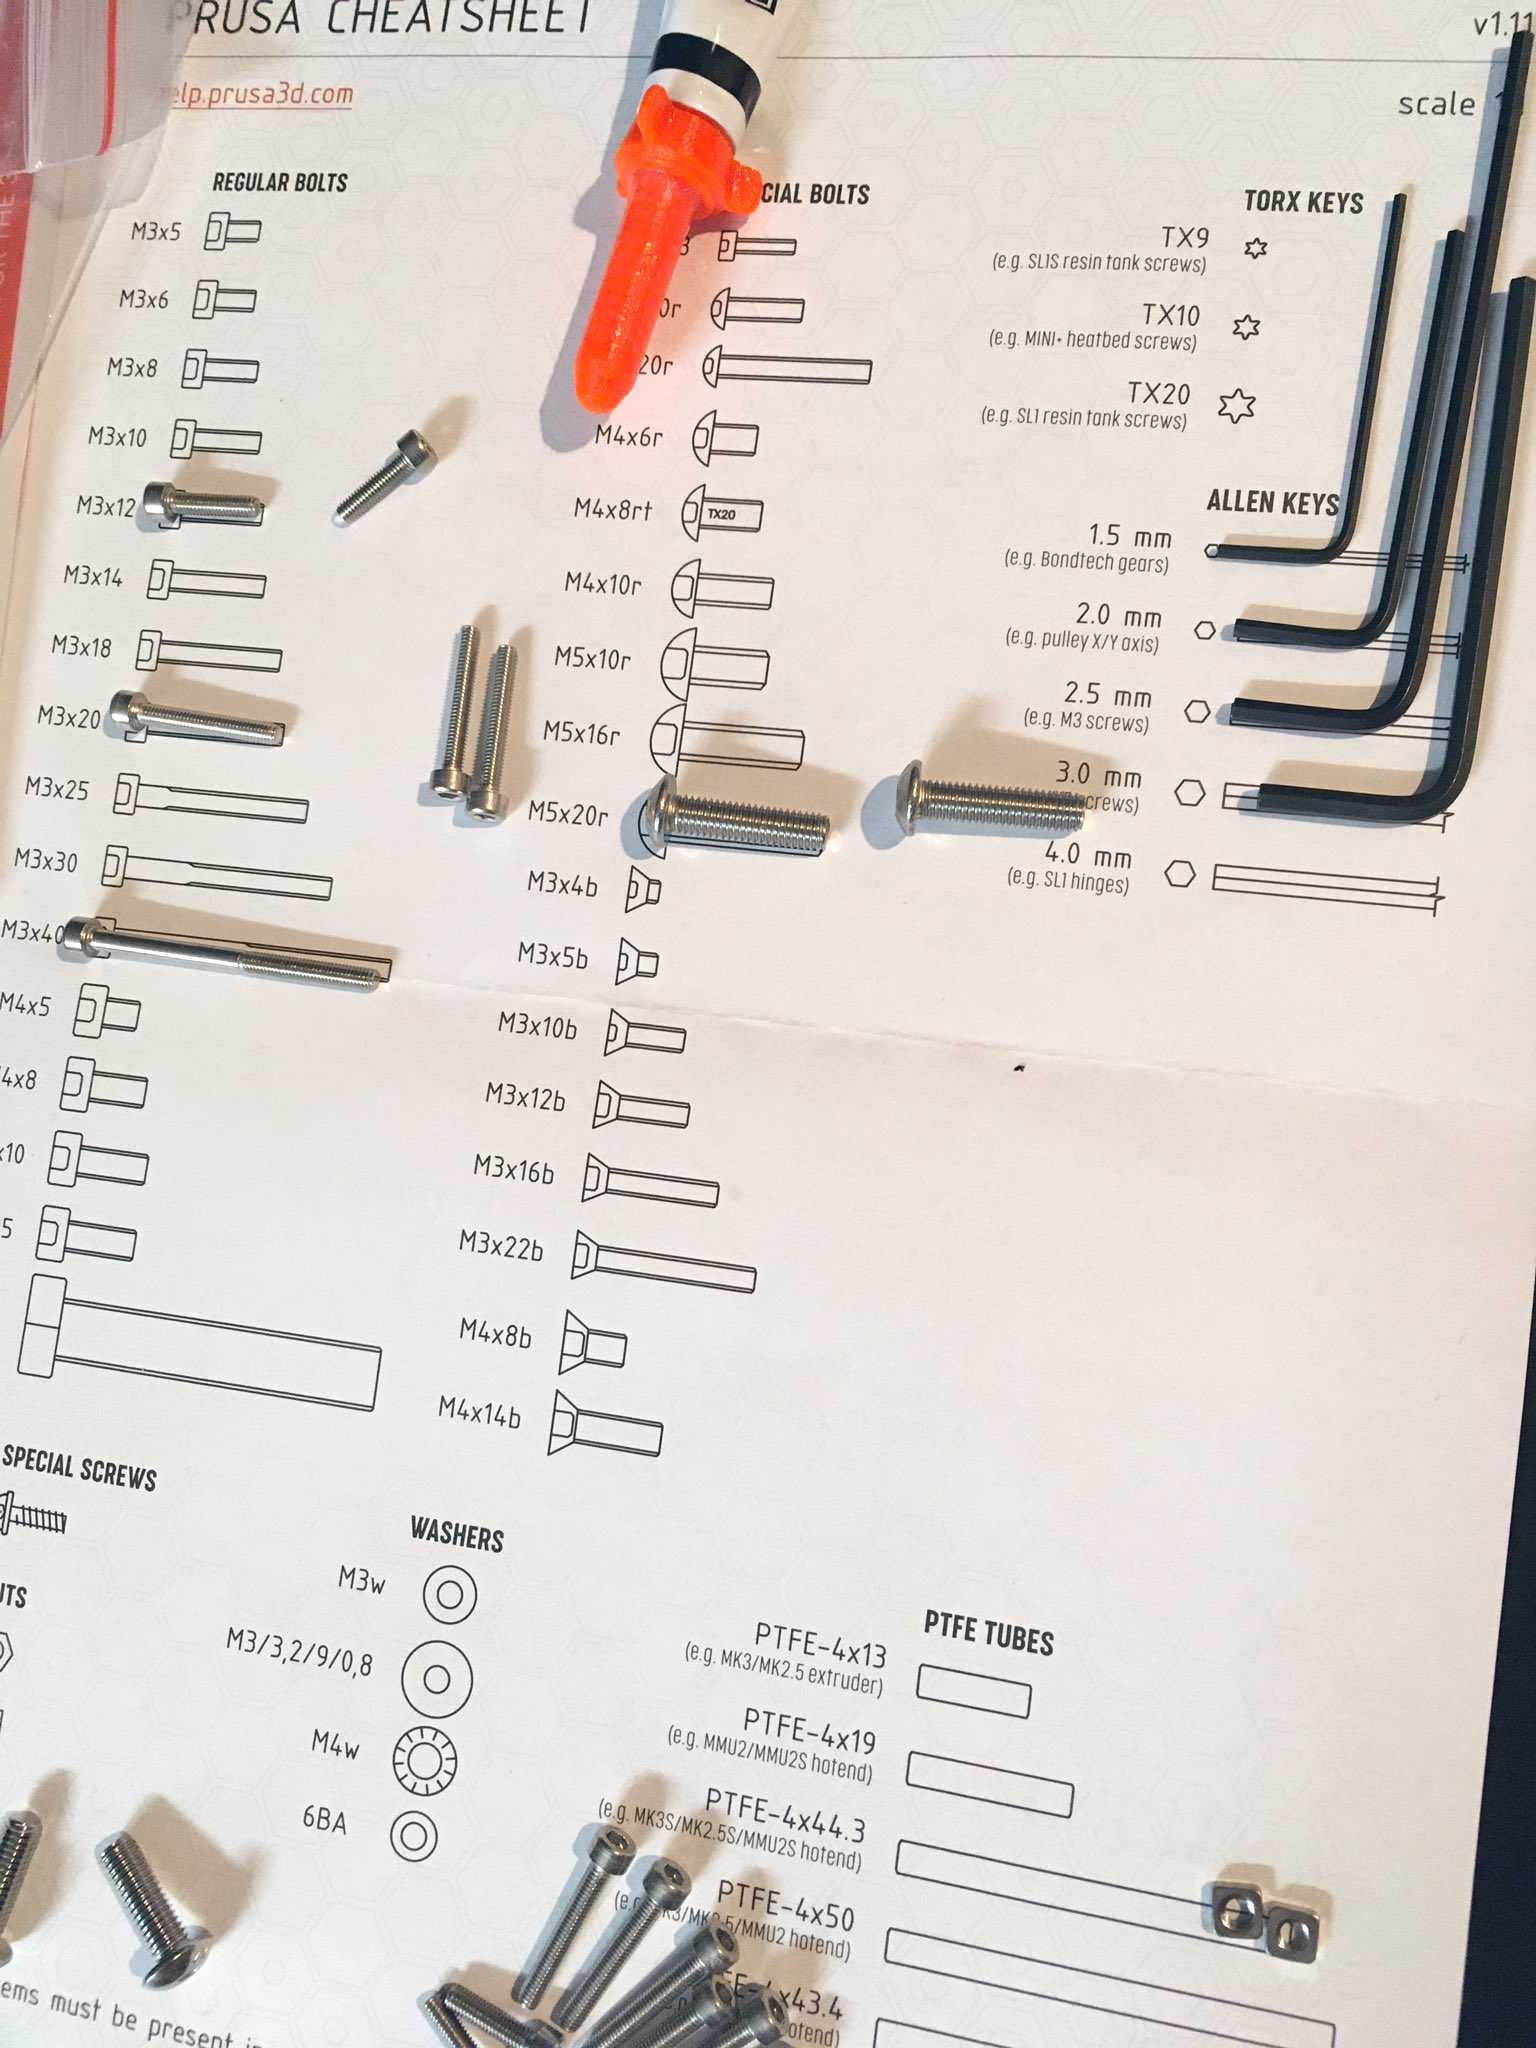
1-to-1 sized cheatsheet is very helpful
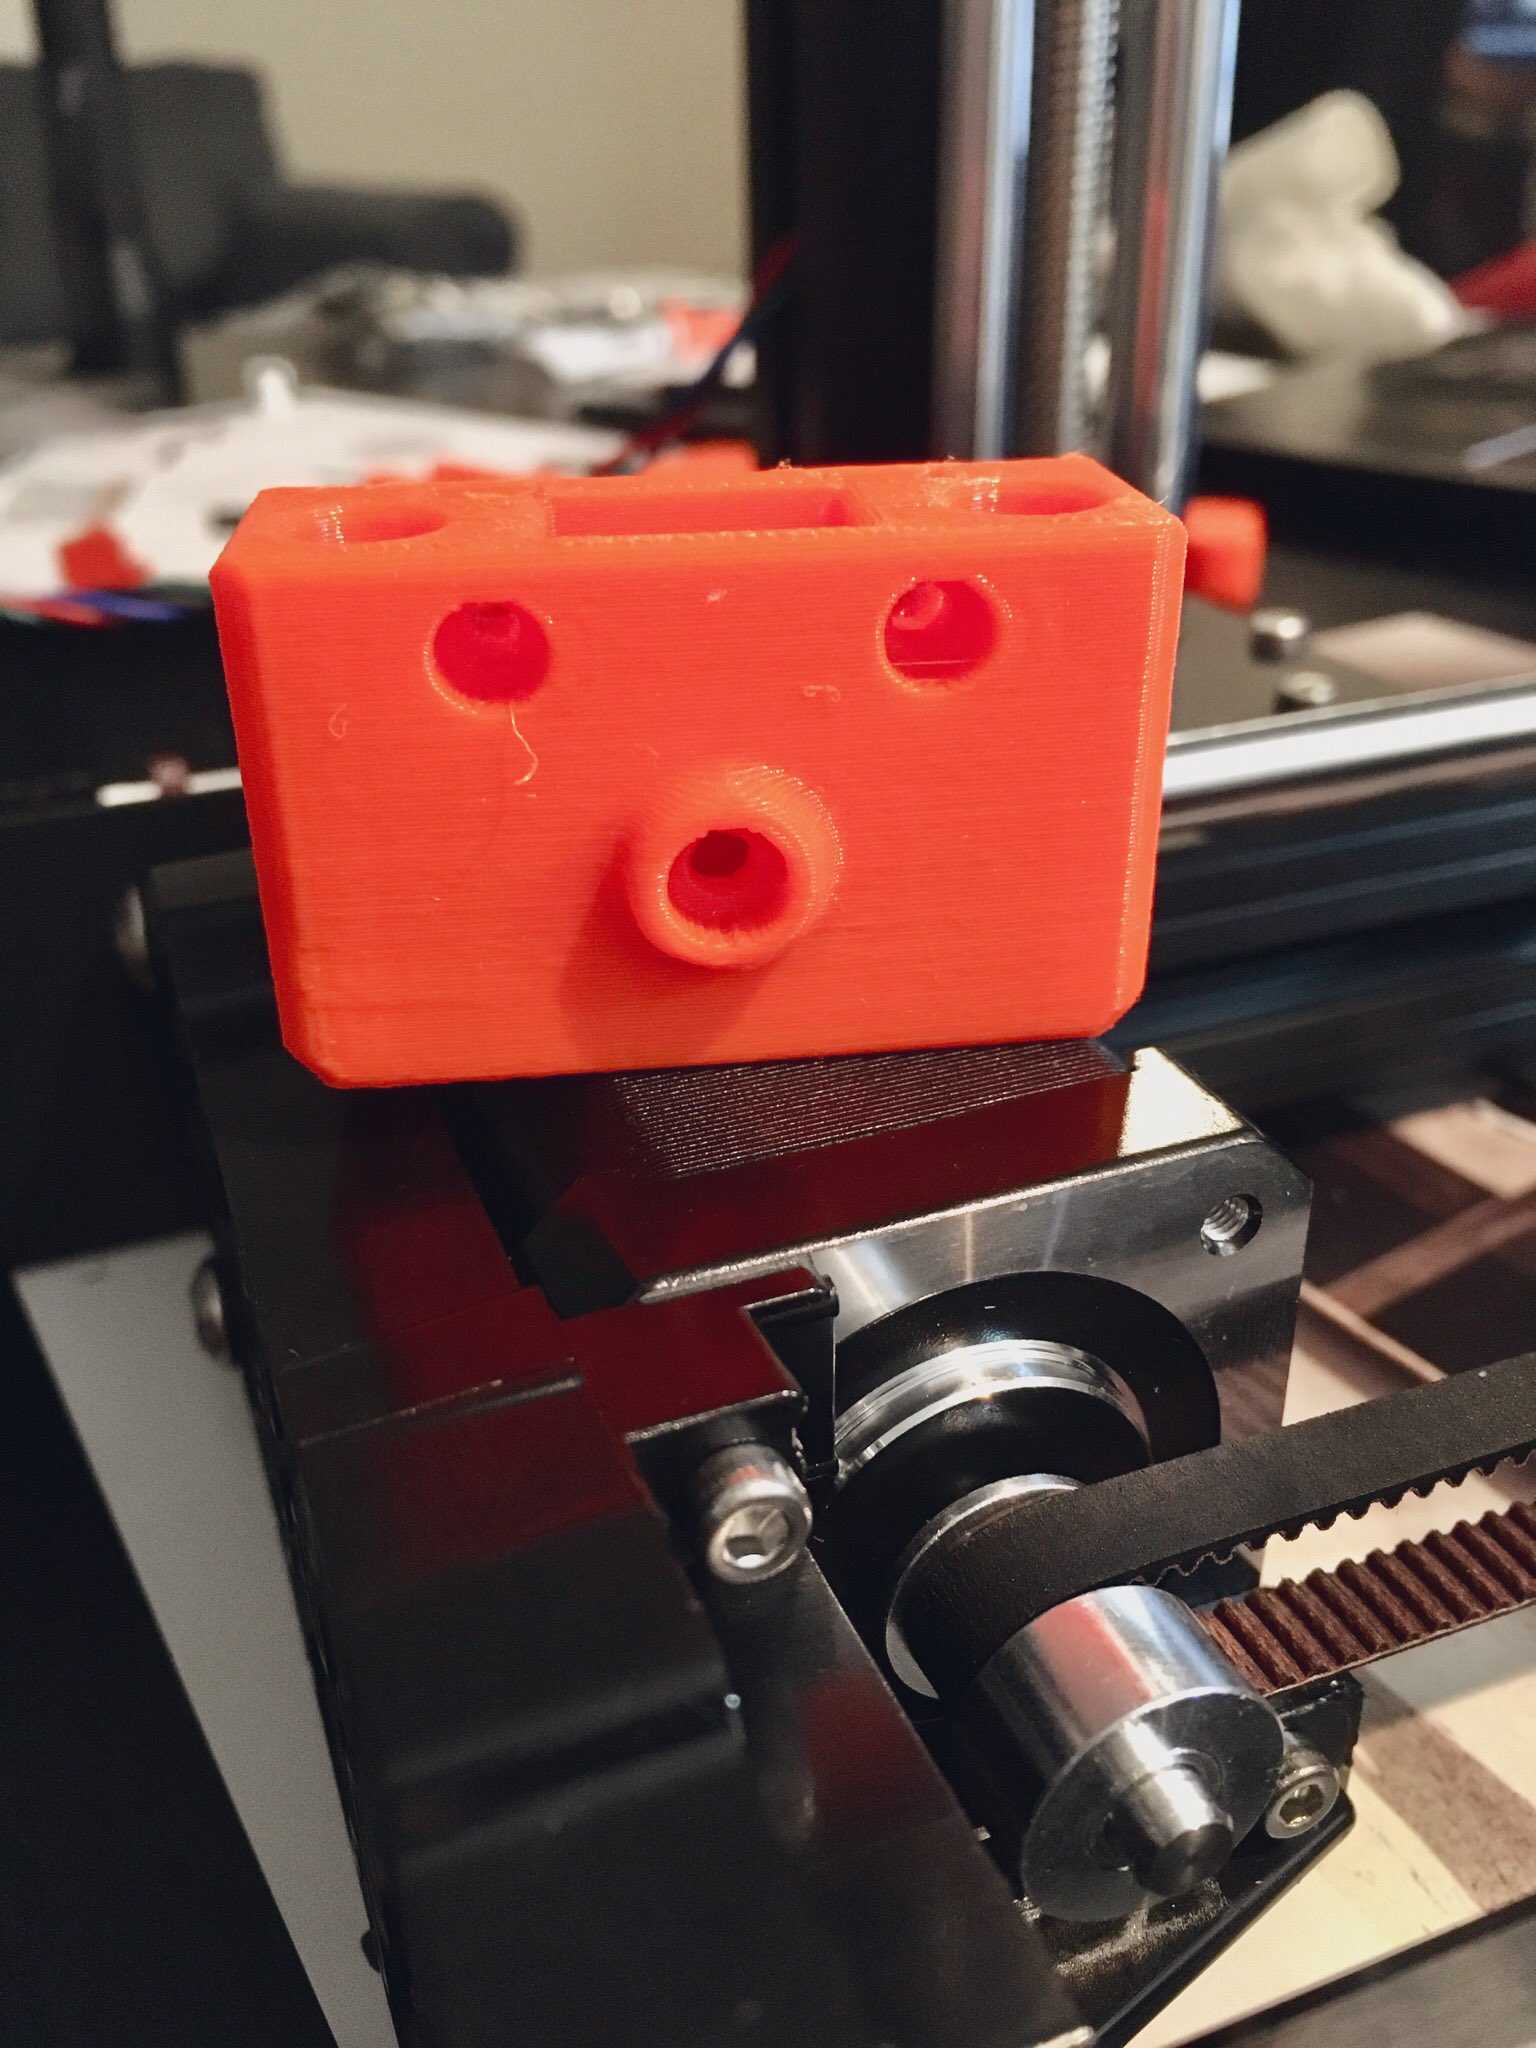
They use nylon nuts in some places to fight with vibration I guess. Will see if I need to tighten anything up after many prints
Can you get this emotion? Is it astonishment, indignation or concentration?
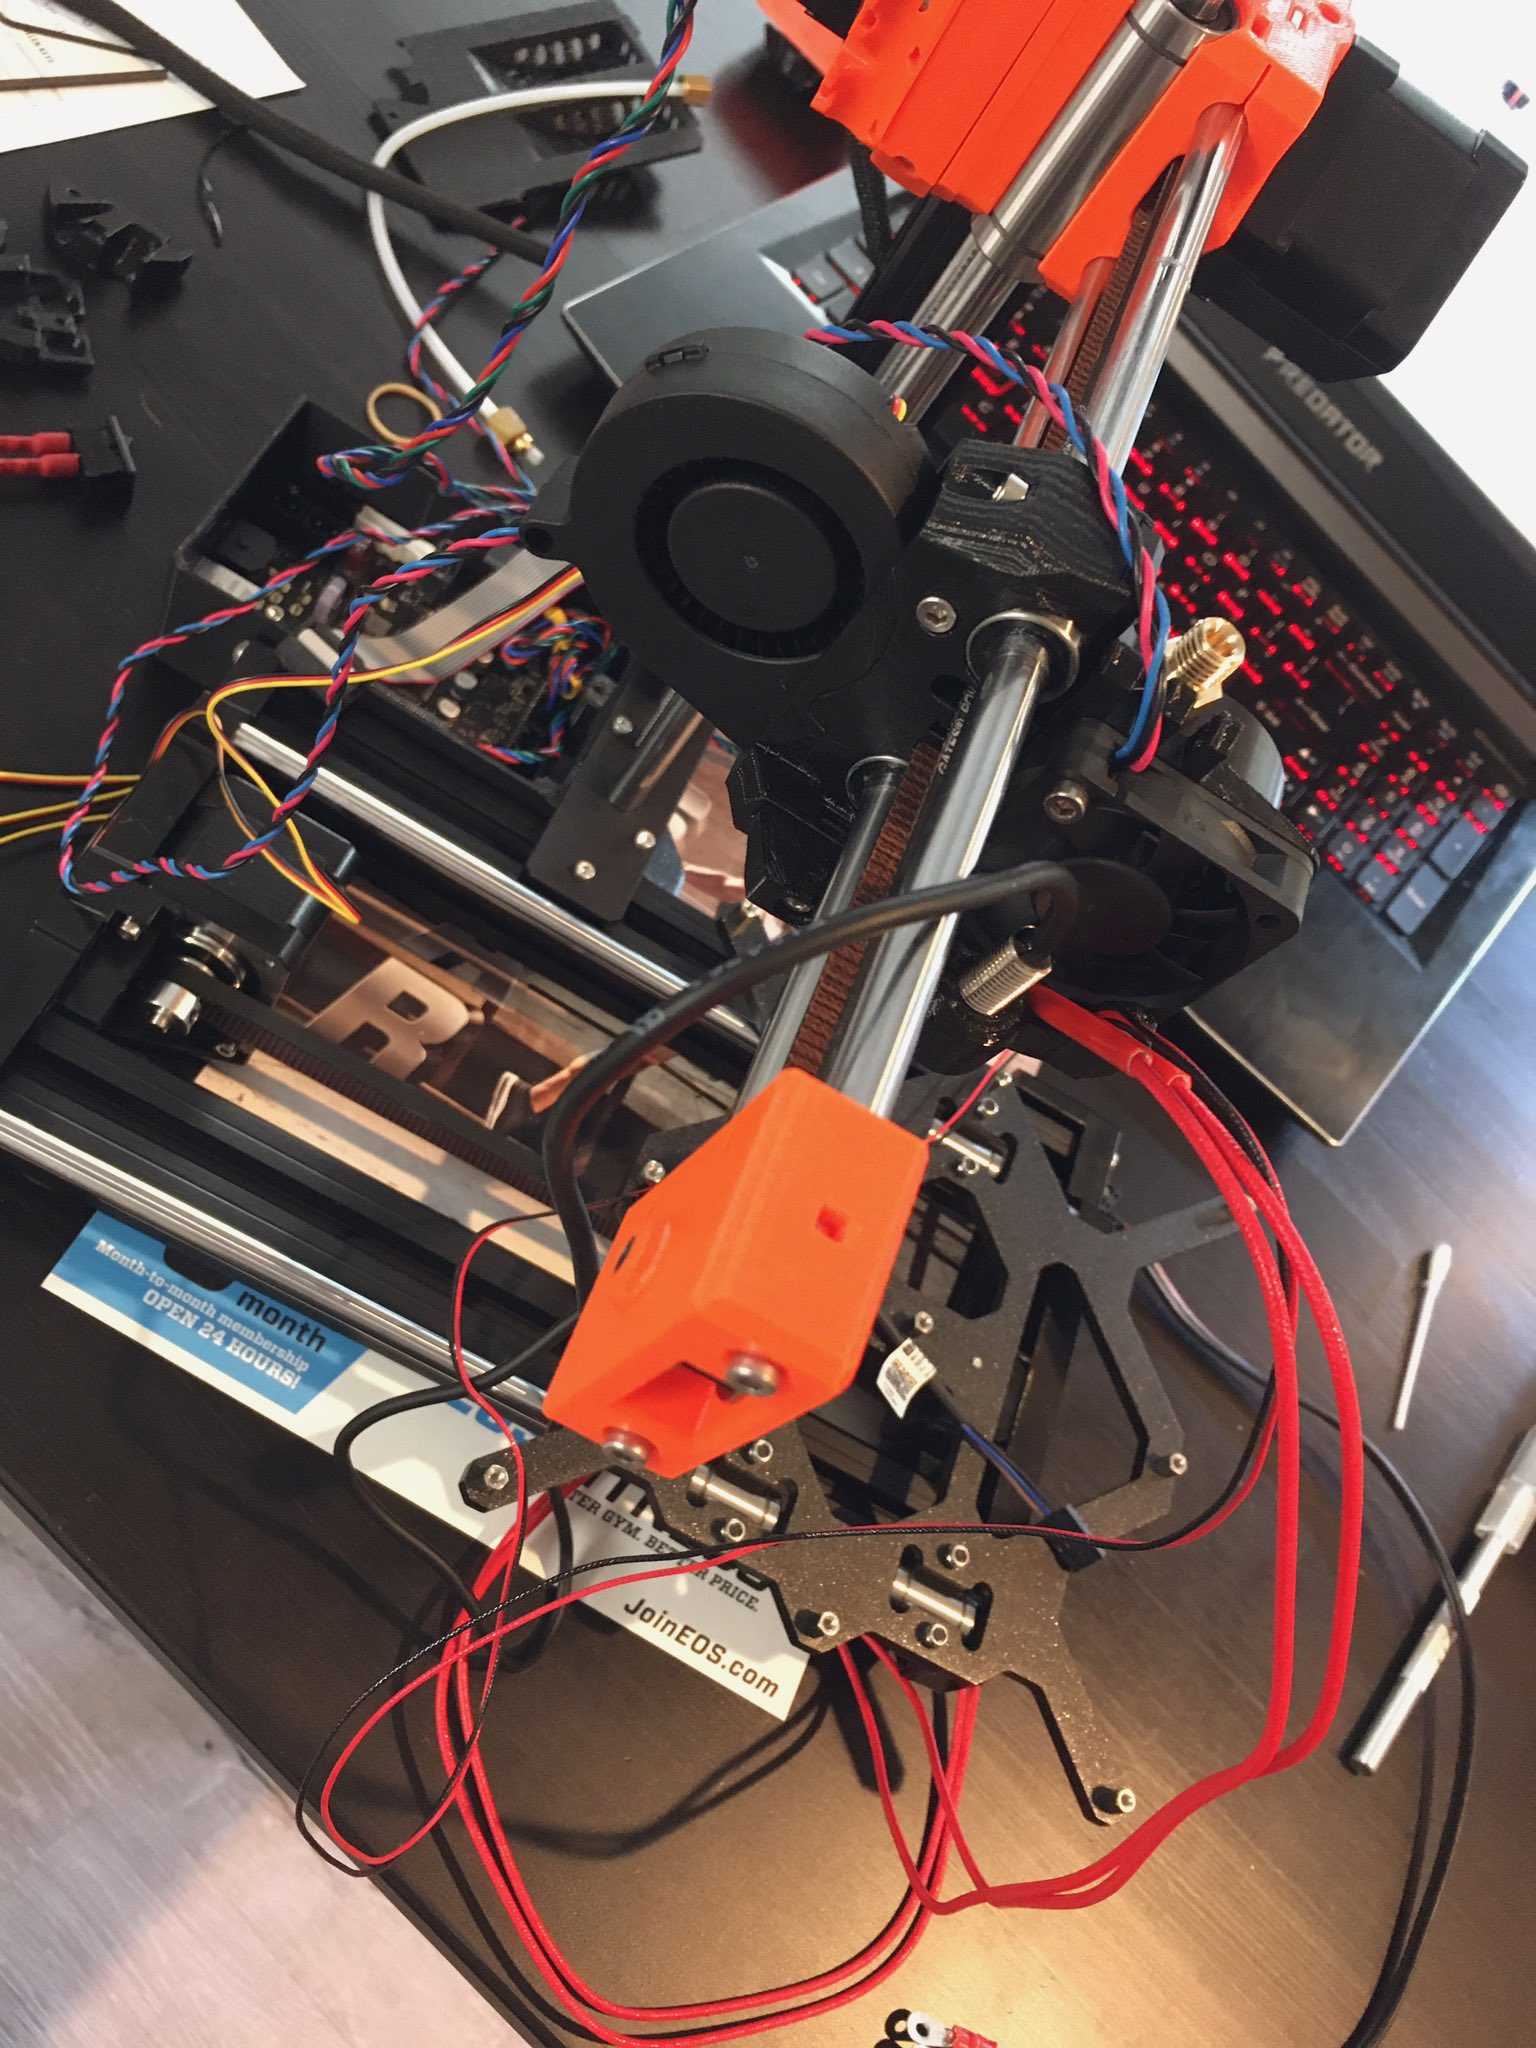
Just don’t tell me that I’ll need to do cable management
I don’t know what this means, but it looks cool
It says shaken but not stirred
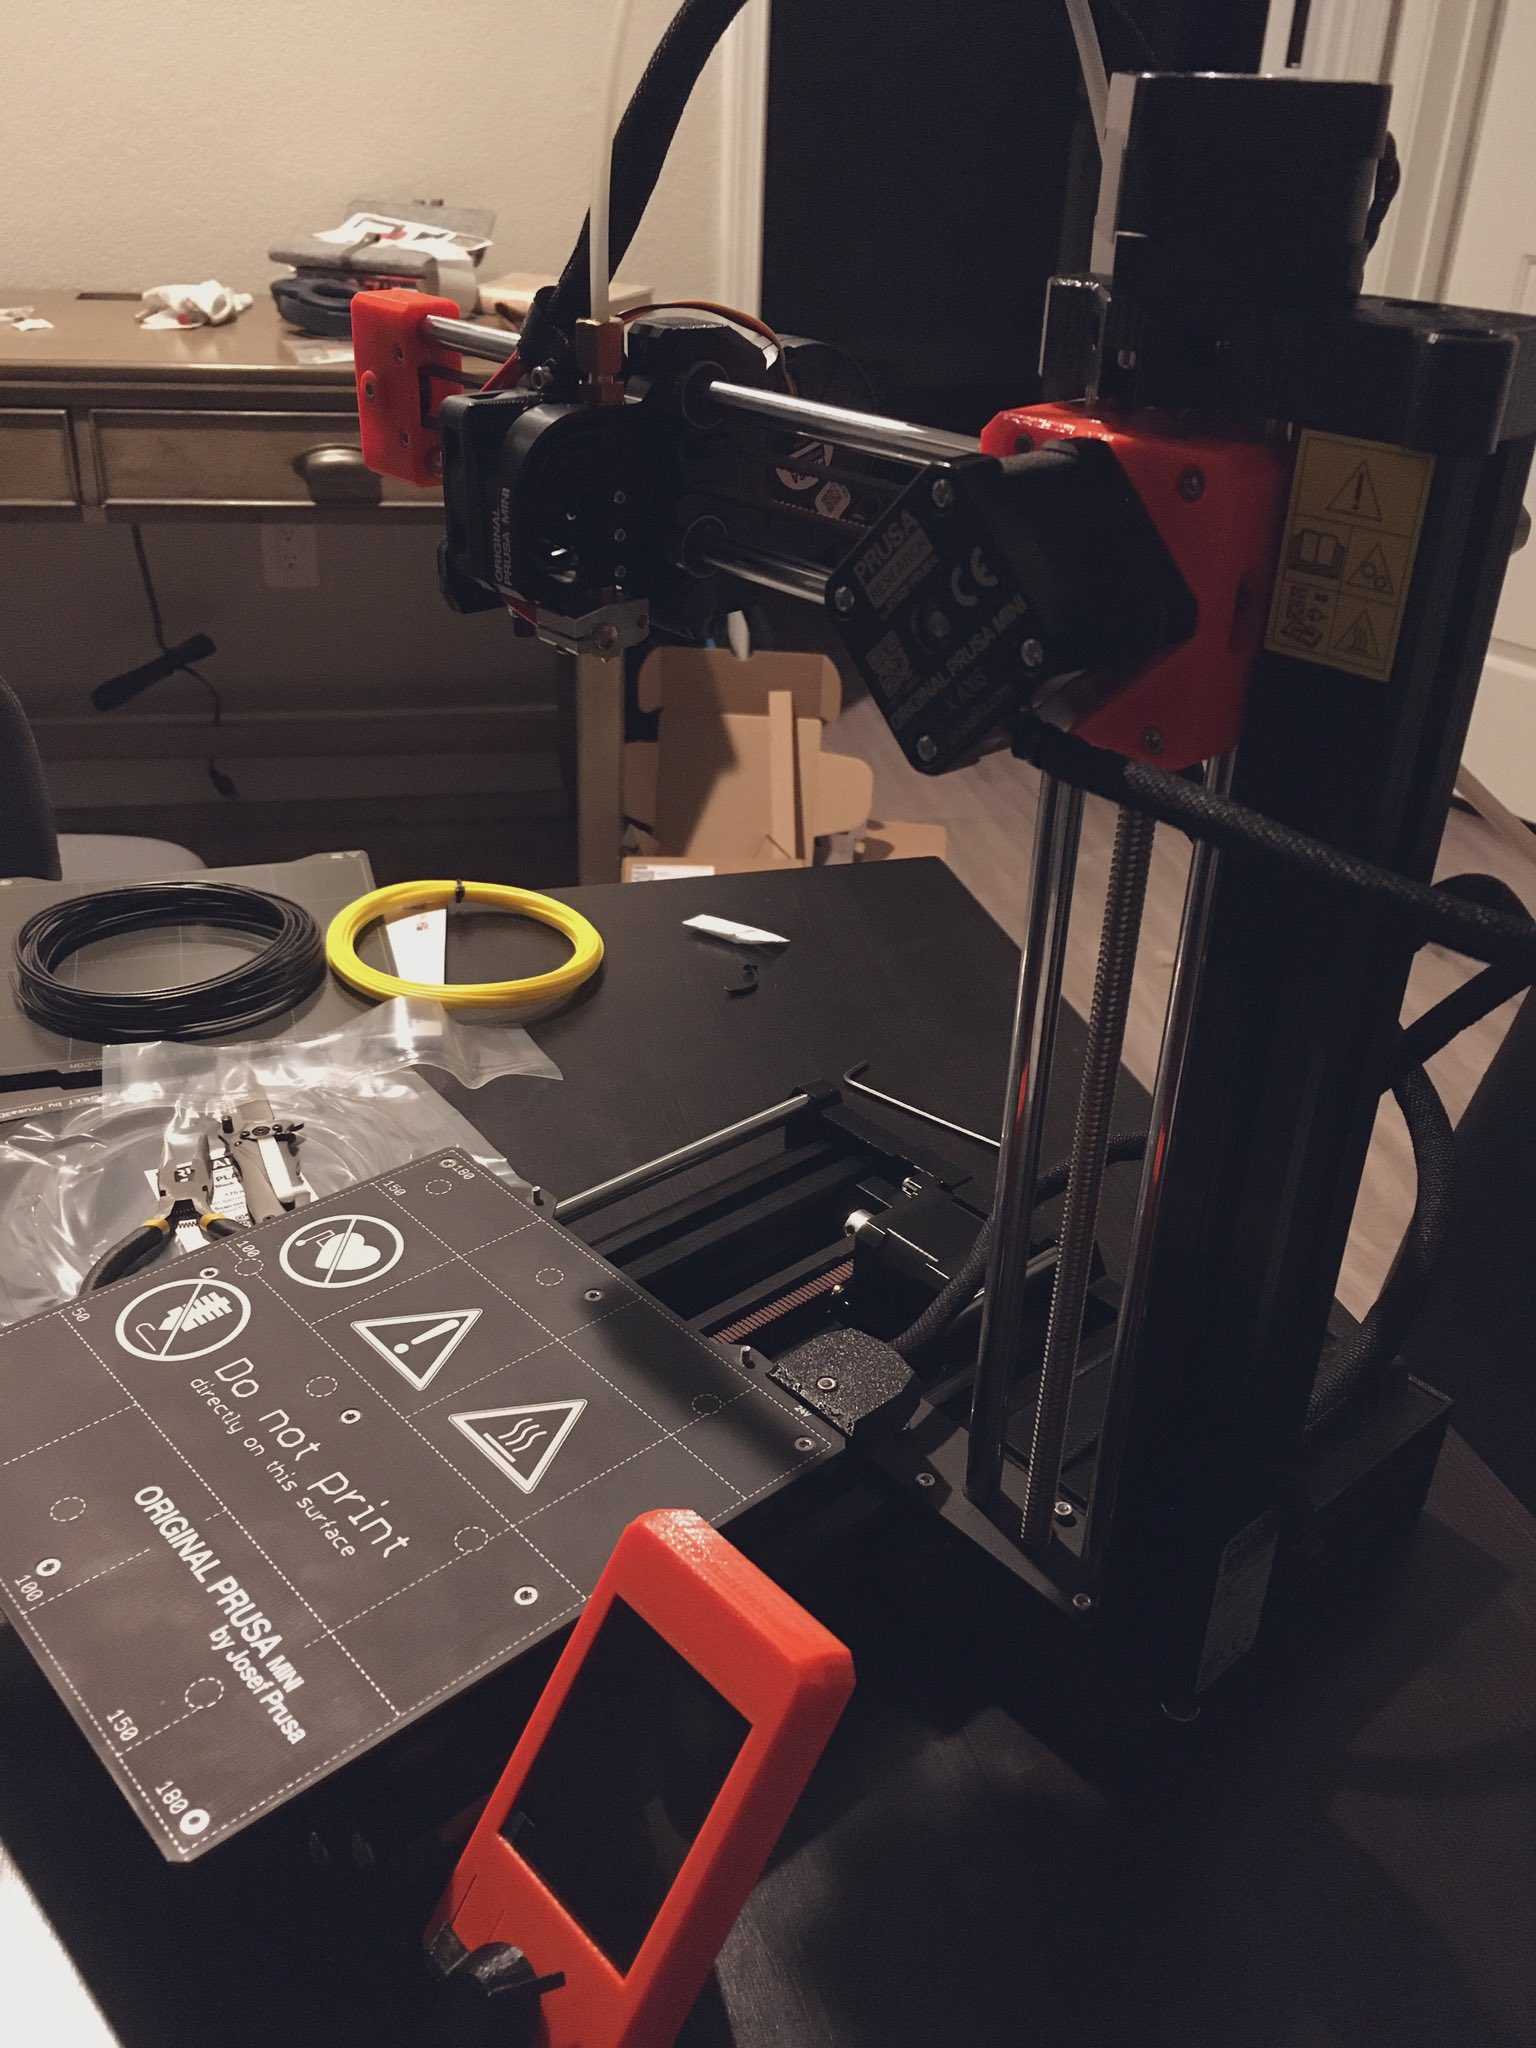
Last check before hiding the mess
Almost done, no more bags with screws. Should be ready for its first calibration tomorrow. If I will be lucky, then also some test print.
What’s funny that this night I had a dream where I followed a step by step tutorial similar to what I used in the last 3 evenings. But in the dream that tutorial was explaining how to hide a treasure and put future treasure hunters on a false track 😆
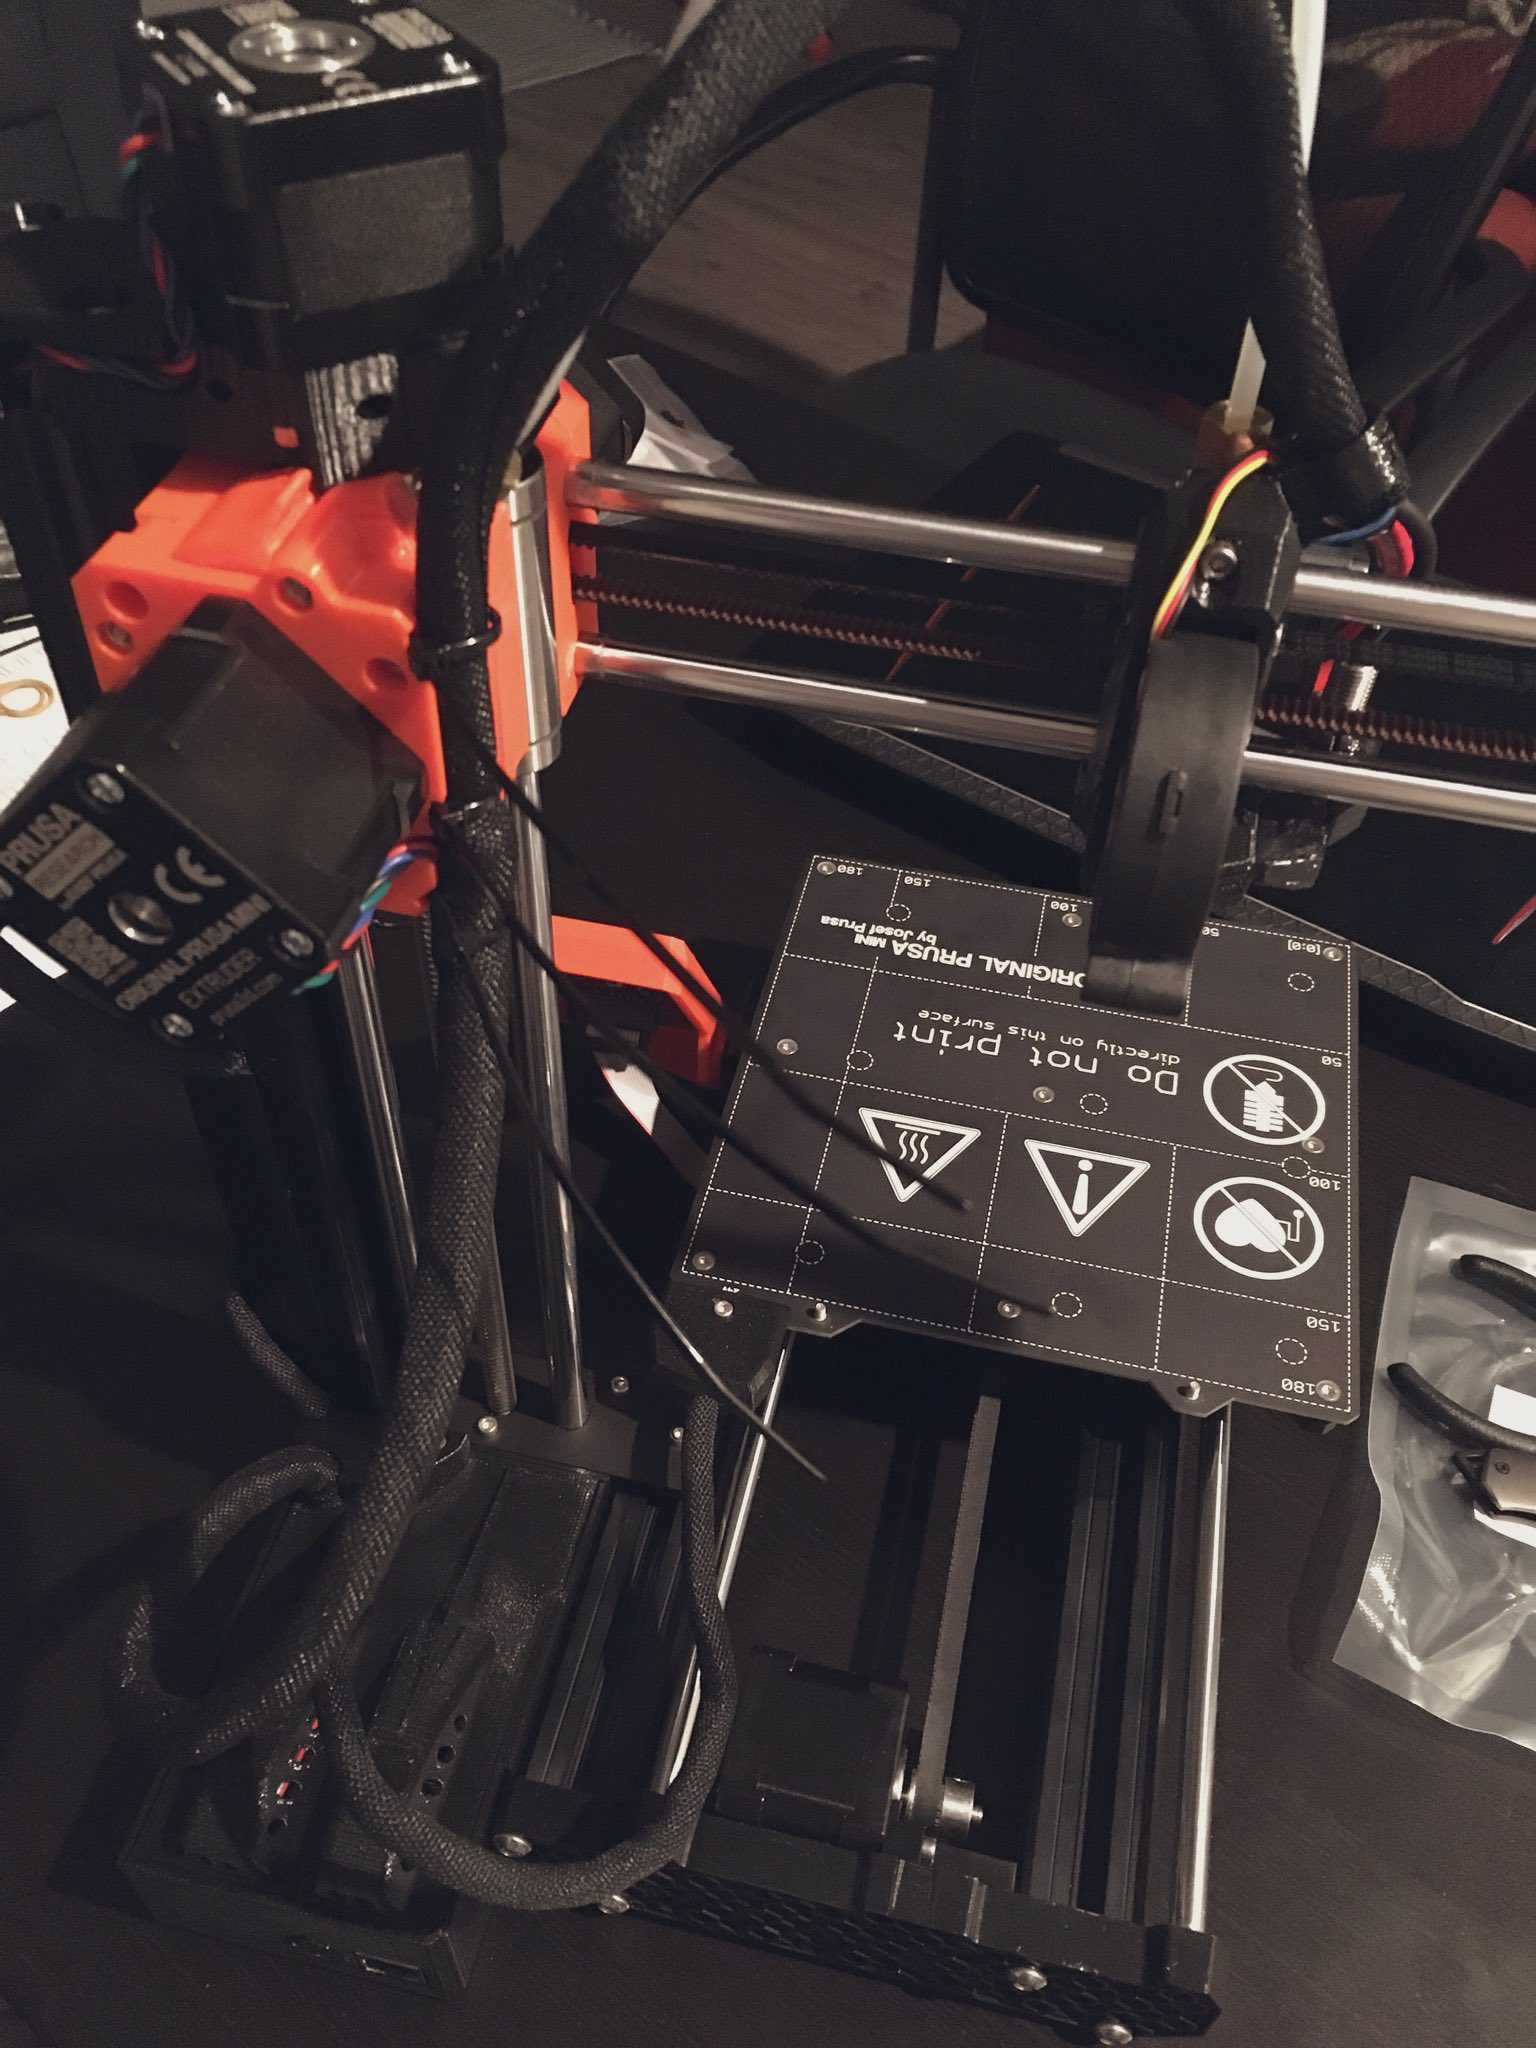
I successfully finished the assembly of my first 3d printer. It was really fun. Now I know a little bit about moving mechanisms on smooth rods and aluminum profiles

Reference: https://help.prusa3d.com/guide/1-introduction_203948
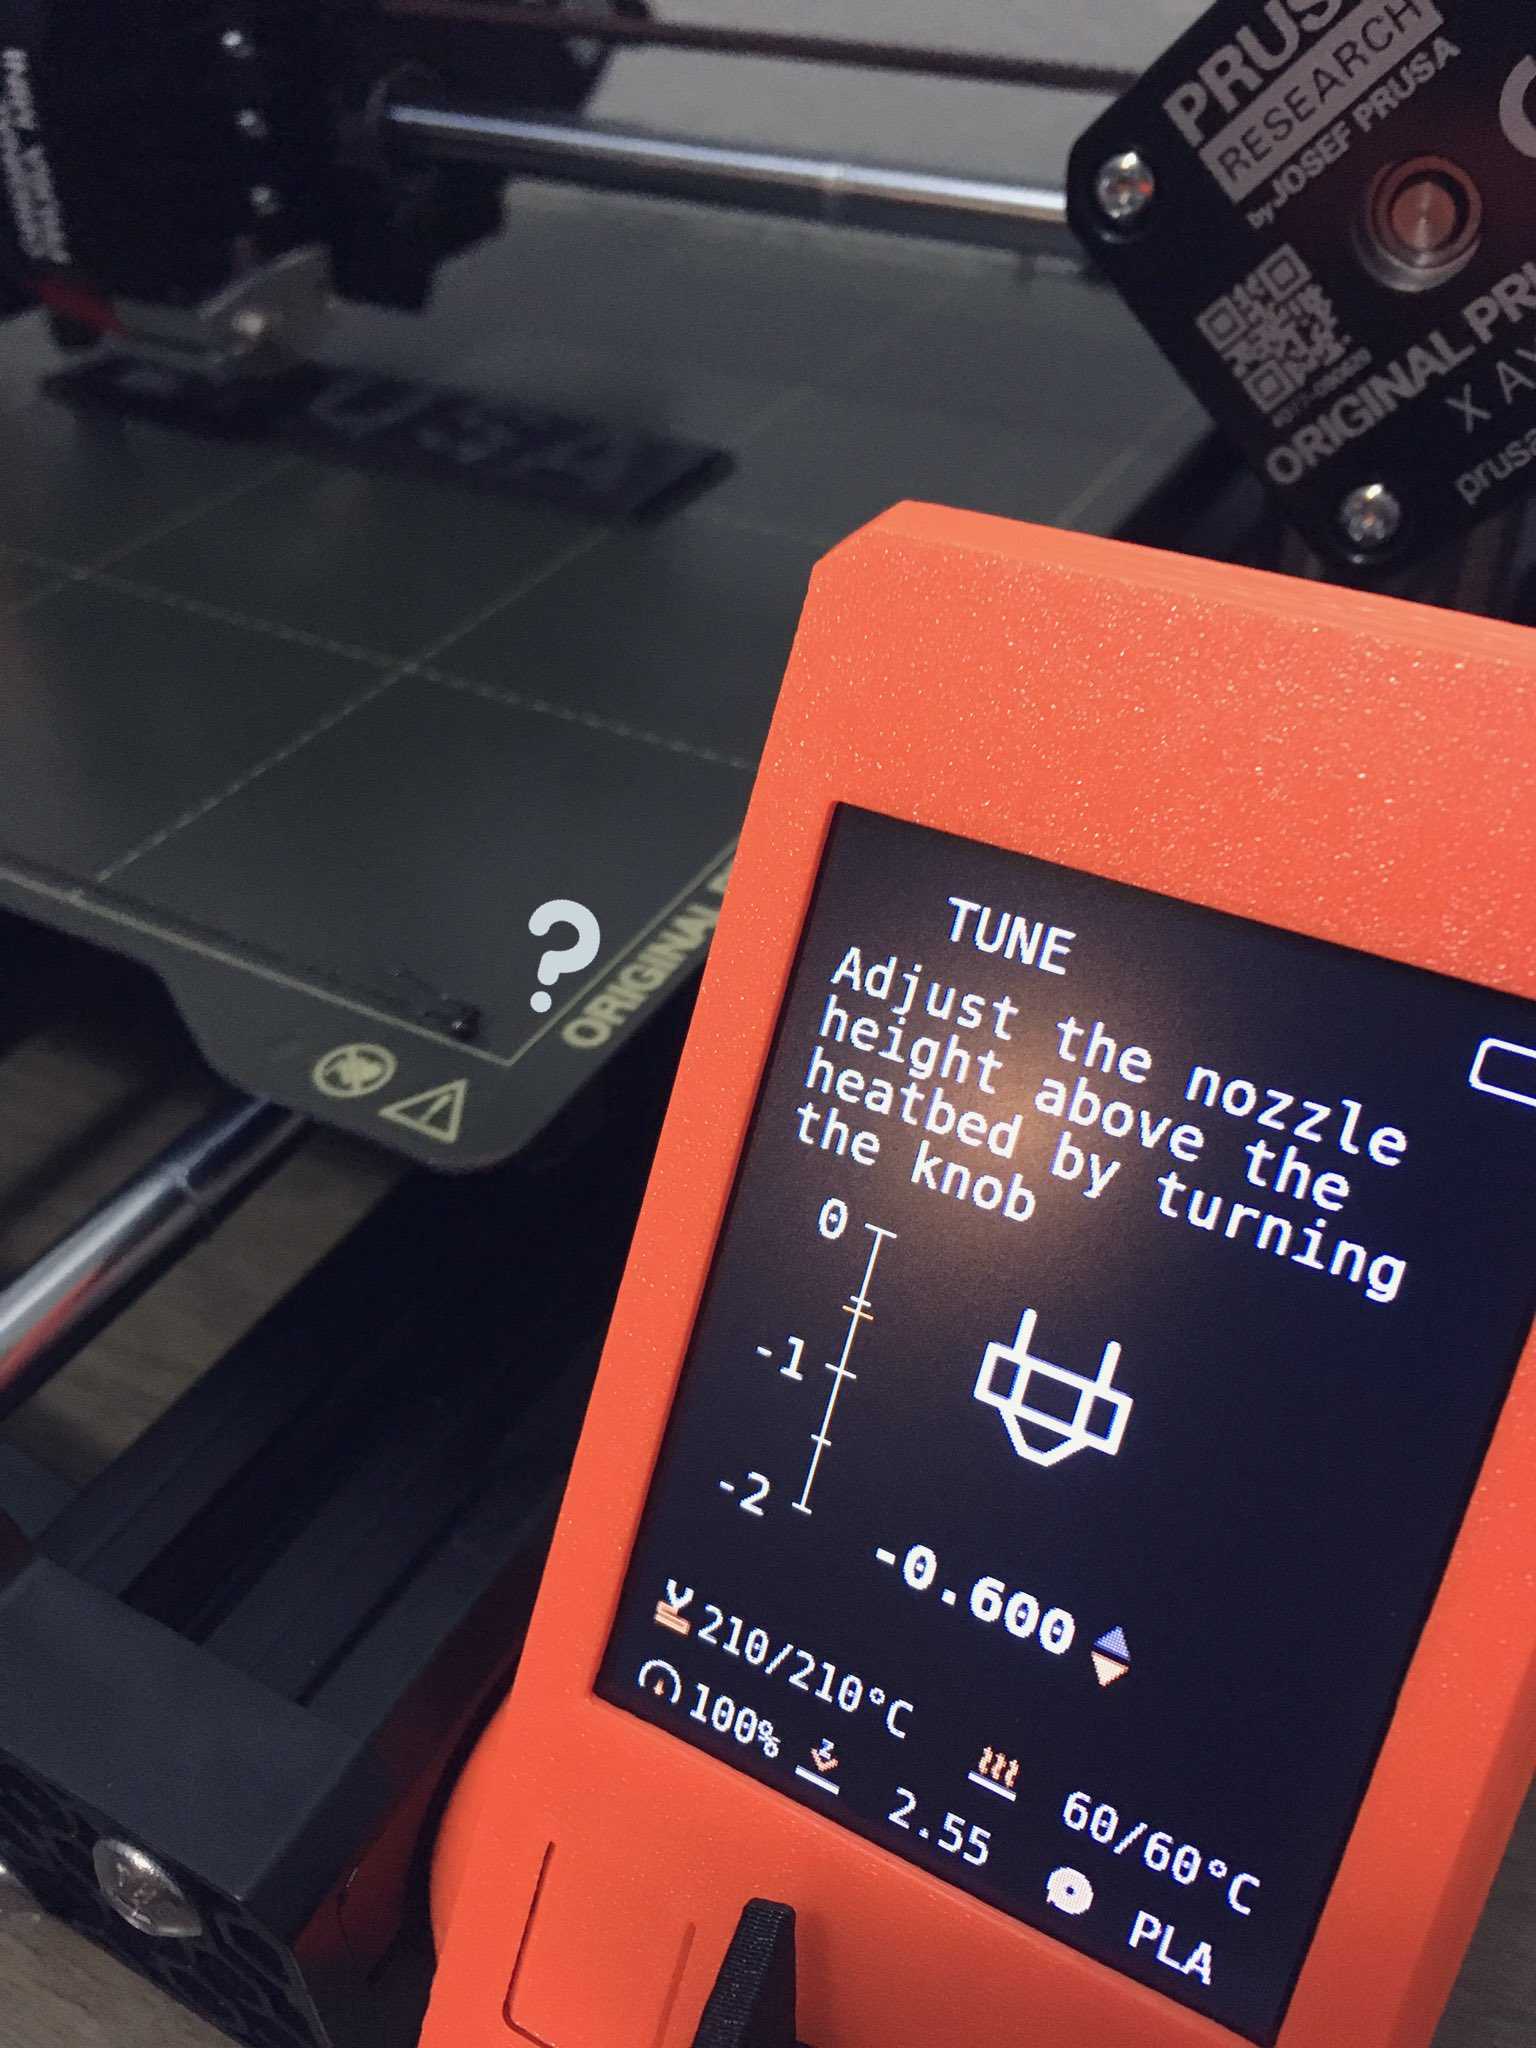
Test print in progress. I still don’t understand why it poops before the start and after, and if this is normal. Also I needed to calibrate it during the print (good, that there’s live adjustment of Z axis)
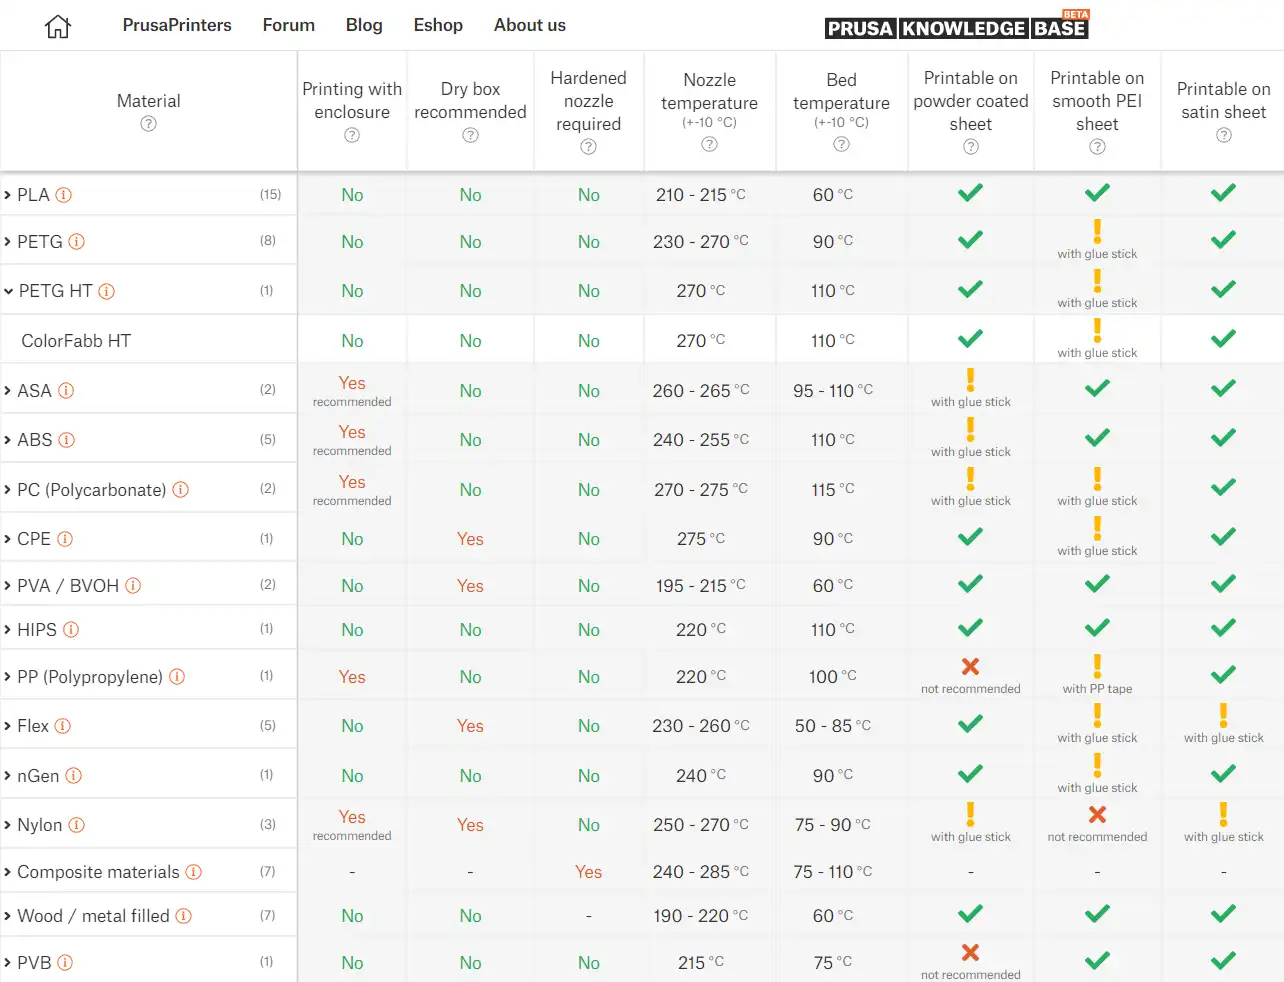
Filament cheatsheet
Test prints
- test stringing https://www.thingiverse.com/thing:533472 http://domoticx.com/3d-printer-retraction-instellen-en-calibreren/
- temperature tower https://www.thingiverse.com/thing:2615842
- fancy benchy https://www.printables.com/model/124521-voronoi-lattice-benchy#preview
- all angles, holes, and columns. it takes hours to print though, so I skipped it https://www.printables.com/model/112181-complete-3d-printer-test-all-in-one-stress-test-be/comments
Problems, questions
-
Stringing. Increase retraction (5mm distance), lower nozzle temperature (200C PLA)
-
Unloading a filament is hard because a big blob is created on the end melted by the nozzle
-
During auto bed leveling and preheating filament pured a little and then wiped on the south edge. It's expected behaviour, but no one will tell you that.
-
Some models are terrible to print and might need an adjustment in 3D editor (not in the slicer)
-
G-code is a set of instructions very specific to the printer and they include all settings you carefully tinker in the slicer. So normally you cannot find them online.
-
15% infill makes nozzle to quickly move, so against such jolts you need to make the print to stick to bed (increase temperature and lower the speed)
-
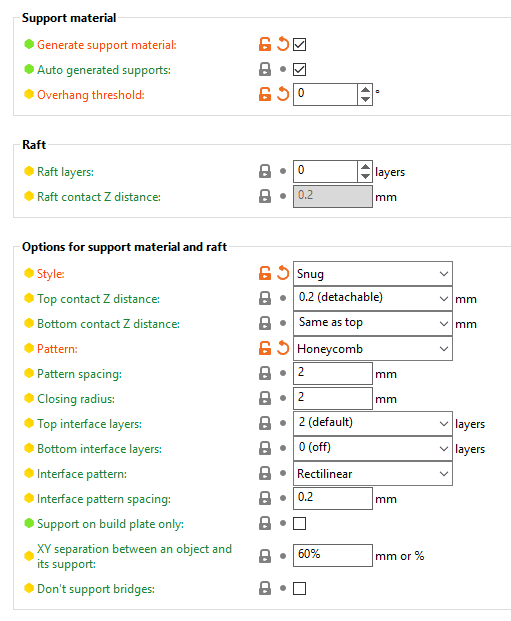
How to make small/minimal support platform in PrusaSlicer? Print Settings -> Support material -> Overhang threshold = 0 (auto)
- Prusa profiles for cura. Just use the new path
C:\Program Files\Ultimaker Cura 5.2.1\share\cura\resources
From my constant experience with different filaments and models I collect tips on a dedicated page. That is going to be a complete collection of lessons you need to know on order to make perfect prints. Keep that page bookmarked and check for the updates.
Extra equipment
- Isopropyl alcohol > 90%
- Paper towels
- Brass brush
- Container for spools (dry box) - under discussion